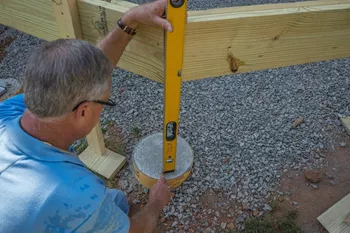
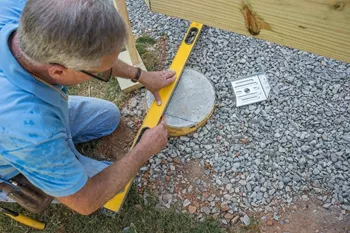
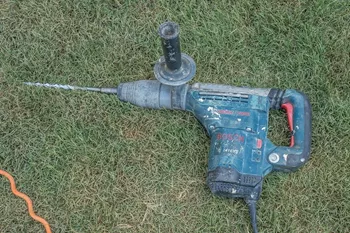
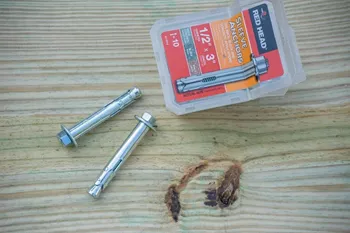
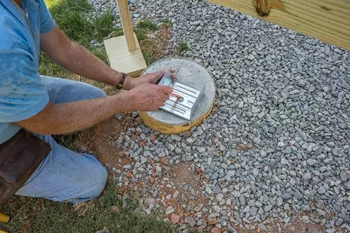
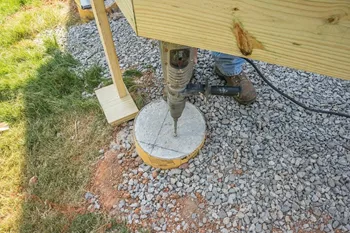
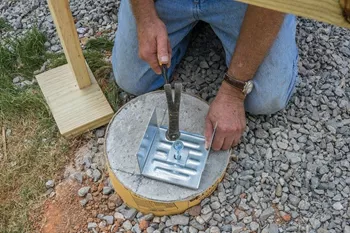
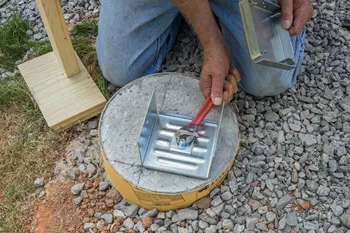
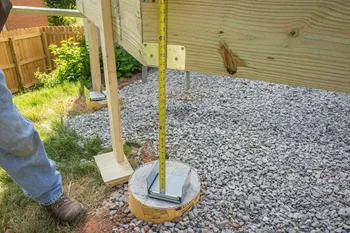
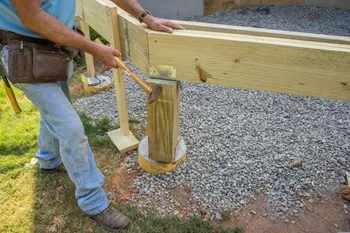
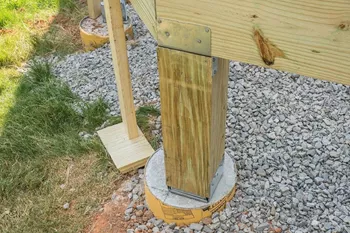
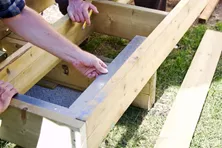
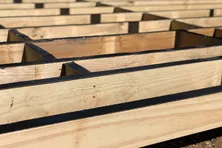
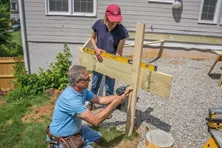
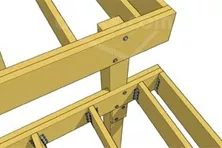
How to Install Wood Deck Support Posts
How to Decorate Deck Support Columns
Browse some examples of decorative deck support posts for tall decks.
4 Tried and True Methods on How to Square a Deck Frame
Discover the secrets to perfectly squaring your deck frame. Our guide simplifies the process, ensuring your deck is flawlessly shaped and structurally sound.
Building Above Ground Pool Decks
Add that finishing touch to your above-ground pool with a customized pool deck. Learn the essential steps from planning and permitting to installation and maintenance. Discover tips on choosing materials, ensuring safety, and deciding between DIY and professional help for a seamless and stylish poolside experience.
How to Install Decking Over Existing Concrete Slab, Patio, or Porch
Discover the best techniques to build a deck over concrete, ensuring proper drainage and stability, while creating a beautiful outdoor space.
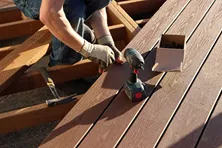
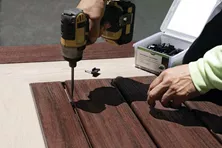
How to Install Composite Decking
Learn about how to install composite decking. Topics include expansion and contraction issues and hidden fastener systems.
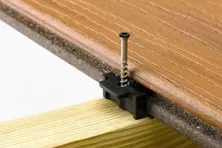
Best Hidden Fasteners for Decking
Hidden fasteners create a clean deck surface and can be used with composite, wood and other materials. Learn about hidden deck fasteners at Decks.com.
More Helpful Resources
Explore Articles by Topic
Footings
Information related to installing frost footings for decks
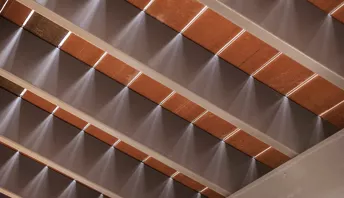
Framing
Learn structural framing methods
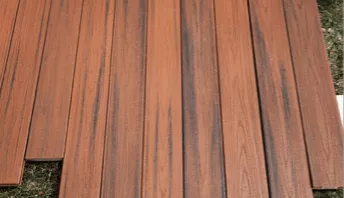
Decking
Learn about wood and composite decking materials
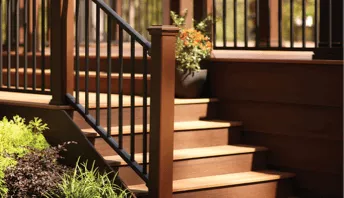
Stairs
An in-depth look at the complex issue of how to build stairs
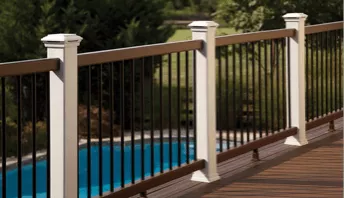
Railings
How to install guardrails and handrails to meet IRC code
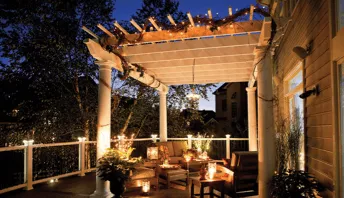
Features
An overview on water drainage, benches, planters and lights
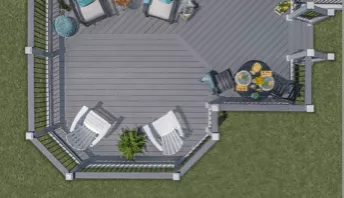
Design
The basics of deck design
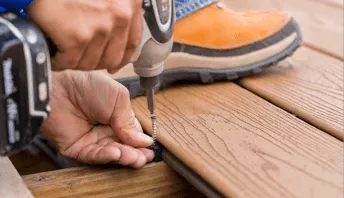
Planning
Learn about permits and working with contractors
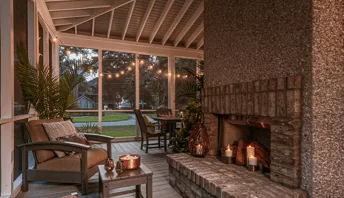
Porches & Patios
Build a covered deck to enjoy all seasons
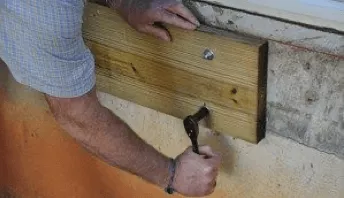
Ledger
Proper attachment techniques
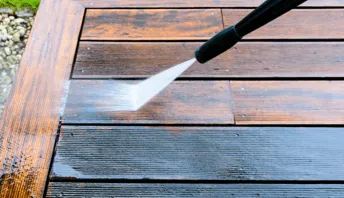
Care
Maintain your deck to maintain your investment
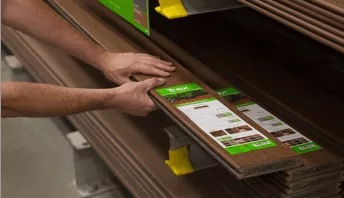
Materials
An overview on water drainage, benches, planters and lights
Why is Joist Protection so Important for Your Deck?
If you’ve ever seen a piece of wood left out in the weather for any period of time, you know what happens: decay. Whether through wet rot, insect damage, or mildew, the fibers begin to break down.
Determining Deck Beam Height
Learn how to measure in order to set your posts to properly position your deck beam to the correct height. We recommend sloping your deck to shed water away from the house.
How to Use Shared Load Deck Support Posts
Learn how to support an upper and lower deck using one support post and a larger footing by bolting the lower deck into the side of the post.
What to Consider When Building A Wrap-Around Deck
Looking to add a wrap-around deck to your home but unsure of what the process involves? Check out this guide to learn more about top considerations when building a wrap-around deck.
How to Install and Fasten Deck Fascia
Installing deck fascia can be easy if you have the proper tools, fasteners, and practical information that you’ll find right here.
How to Install Composite Decking
Learn about how to install composite decking. Topics include expansion and contraction issues and hidden fastener systems.
Explore Articles by Topic

Footings
Information related to installing frost footings for decks

Framing
Learn structural framing methods

Decking
Learn about wood and composite decking materials

Stairs
An in-depth look at the complex issue of how to build stairs

Railings
How to install guardrails and handrails to meet IRC code

Features
An overview on water drainage, benches, planters and lights

Design
The basics of deck design

Planning
Learn about permits and working with contractors

Porches & Patios
Build a covered deck to enjoy all seasons

Ledger
Proper attachment techniques

Care
Maintain your deck to maintain your investment

Materials
An overview on water drainage, benches, planters and lights


