

How to Choose Fascia Fasteners and Install Deck Fascia Boards
Planning on building a new deck, or is your existing deck ready for a facelift? Don’t underestimate how much fascia boards can affect the overall beauty of your deck. This handy deck fascia board guide will help you make the best buying decision, provide helpful measuring and cutting tips, and deliver the most important fastening information you need to make your next deck project live up to its full potential.
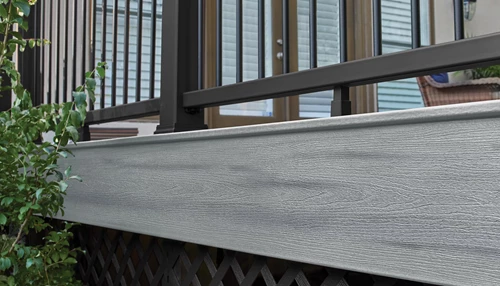
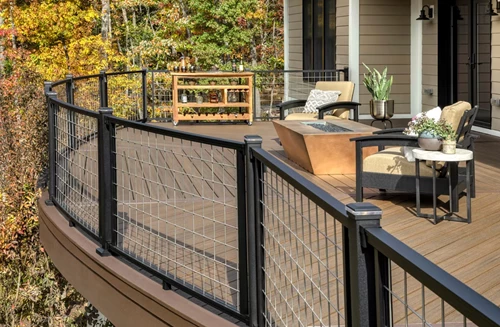
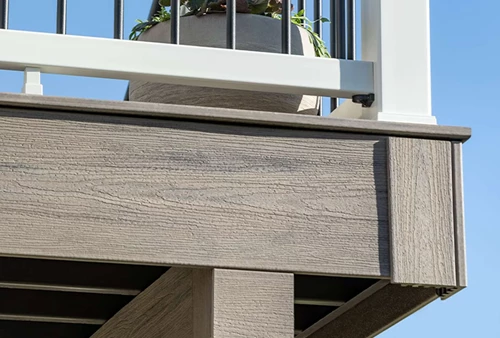
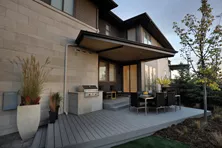
What is Deck Fascia?
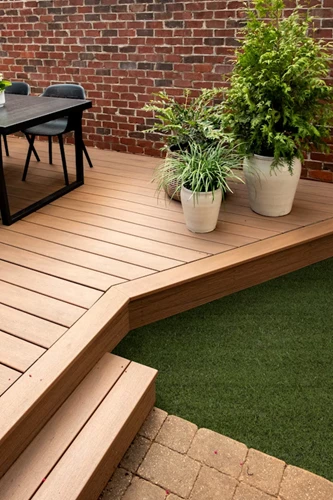
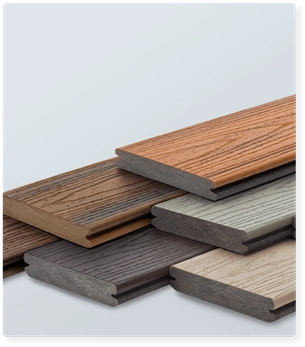
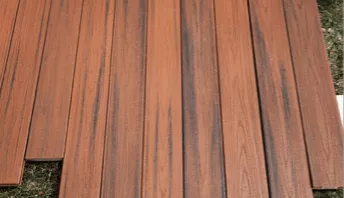
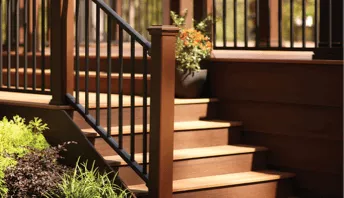
The purpose of deck fascia, sometimes called skirt boards or rim joist cover, is to beautify a deck by concealing the outer joists and stair stringers. Deck fascia boards can be made out of wood, but PVC and composite fascia boards are rapidly gaining in popularity because they are durable and require near zero maintenance. Sometimes the same boards used as the decking are used as fascia, but because deck fascia is not structural, thinner boards are often used. Deck fascia can be the same color as the decking or you could choose a color that matches or compliments the siding, the railing, or other architectural elements on the home.
Before you get started:
Every successful project requires a well-thought-out plan. Here is some information that you’ll need to consider before you head to your local decking supply house.
Use the recommended fasteners
Composite and PVC fascia boards require special fasteners (more on this below) and there are also hidden fastener systems that render fasteners nearly invisible.
Choose the proper width
Ordering fascia that is too narrow is a common mistake. If you plan to hold the top of the fascia board flush with the top of the decking, in order to cover the entire joist, you will need to choose fascia boards that are wider than the joists. Also, stair stringers are sometimes wider than deck joists and will require wider fascia to cover them completely.
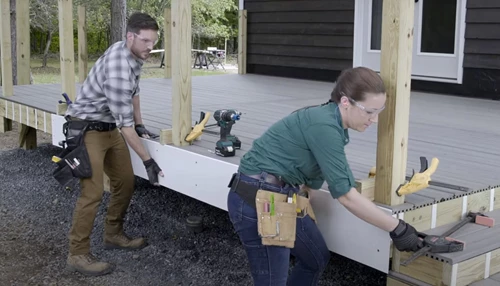
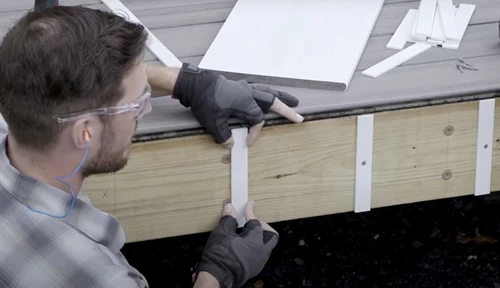
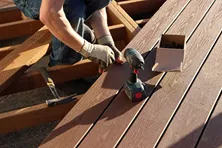
Installing fascia is a two-person job
Long deck fascia boards can be expensive. Many of the pros use clamps to hold the boards in place while they fasten them, but even with clamps, having two people on hand to confirm the fit at both ends of a longboard simultaneously will save time and help prevent costly mistakes.
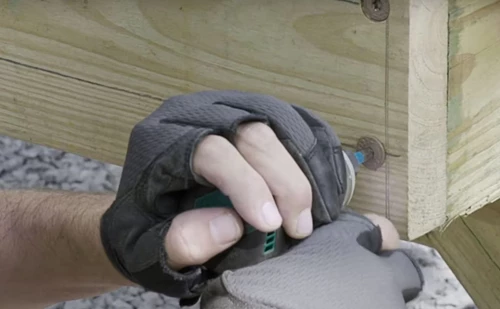
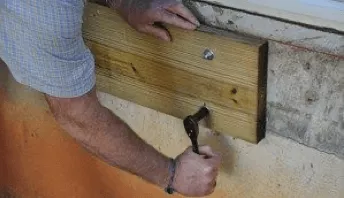
Start with a smooth substrate
It will be difficult to make your fascia look good if the surface of the joists and stringers is irregular. Trim off corners that are not flush and drive in fasteners that may be sticking out proud of the surface.

Avoid extreme cold
Fascia boards can expand when heated and contract when cooled. Contraction can create small gaps between boards, which is normal. Expansion, however, could cause two fascia boards to press into one another causing them to ripple, bow out, and even compromise the fasteners. It's wise not to install fascia boards on very cold days because cold boards expand more than warm boards and are more likely to cause problems when they do.
The two methods of deck fascia installation
You can either install fascia boards up to the bottom of the decking boards or you can run the fascia up flush to the top surface of the deck boards. The method you choose will depend on the particular look you are after, but one method is preferred and both methods have unique building requirements.
Run fascia flush with the top of the deck boards
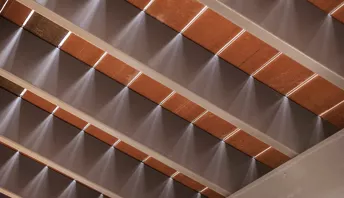
There is always the potential for water to get trapped between the fascia boards and the joists, which could damage both over time. If you choose to install the deck boards flush with the edge of the joists and to install the top of the fascia boards flush with the top surface of the deck boards, it’s important to install spacers between the fascia boards and the joists. This will create a gap for water and debris to pass through and allow air to dry out both boards after a rain event. The spacers can be made out of weather and insect resistant wood, composite material, or PVC. Make sure to place the spacers so that the fasteners penetrate both the fascia and the spacers. Installing a fascia fastener without a spacer behind it will cause the board to noticeably bow in at that spot.
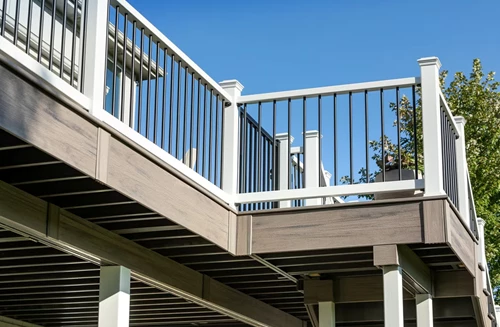
Run fascia to the bottom of the decking
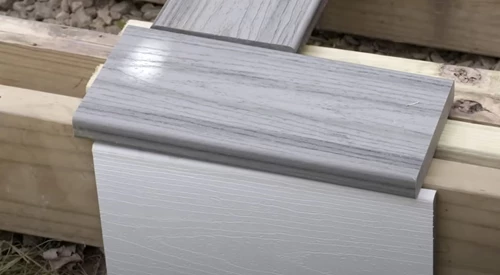
The best way to keep water out from between a joist and fascia board is to install the deck boards so they run past the edge of the joists and install the fascia boards up to the bottom of the overhanging deck boards. To conceal the end grain of the deck boards, you will need to create a border around the perimeter of the deck, which does require extra blocking beneath but also provides the opportunity to introduce interesting accent colors.

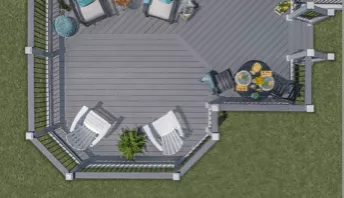
In what order should I install the fascia boards?
In general, it’s best to cut and install fascia on the longest sections of the deck first. That way, if you make a mistake, you might have another board long enough to get it right the second time and you can use the miscut board on a smaller section. That said, there are other considerations. Here is one layout that demonstrates some of the factors that play a part when deciding in what order to install the boards.
- First board: While the 1st and 2nd boards are the same size, #1 will have a miter on both ends which is trickier to get right than board #2 which only requires a miter cut on one side and a simple 90-deg. cut on the other.
- Second board: Longest remaining space
- Third board: Longest remaining space
- Fourth board: Even though #4 is shorter than #5, the corner butt joint near the stairs will be much more noticeable for those ascending the steps than #5’s 90-deg. cut that butts into the house. So, you may want to reserve one more board to try to make that inside corner joint look good.
Last board: Done!
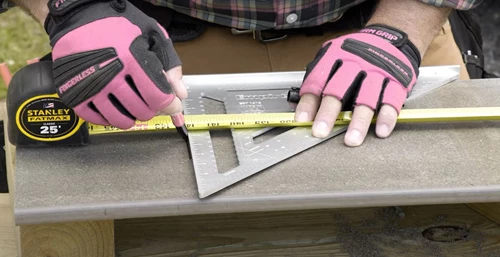
Deck fascia measuring and cutting tips
Because fascia is a highly visible trim detail, it’s important to take your time, measure accurately, and use the best tools at your disposal. Here are some techniques and suggestions that will help make the installation process run smoother.

Helpful cutting tools
The ideal tool for cutting deck fascia boards to length is a sliding compound miter saw, which can cut an accurate miter on fascia boards up to 12-in. wide (Depending on the model). A table saw comes in handy when you need to rip down long sections of boards, and a jigsaw is the best tool for cutting out notches or curved profiles. If you don’t own these tools, don’t worry—most of your fascia cuts can be made with a simple hand-held circular saw.
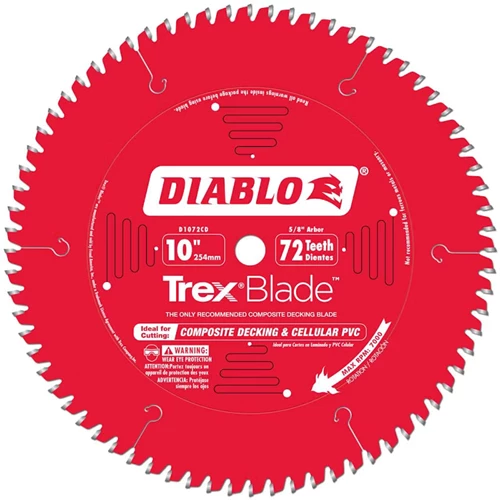
Use the appropriate saw blade
Whether you’re cutting with a circular saw or a miter saw, cutting wide fascia boards with the improper or dull blade will result in rough and chipped cuts that are much more noticeable on those wide fascia boards than they would be on more narrow deck boards. And having the proper jigsaw blade will result in smooth notch and radius cuts.

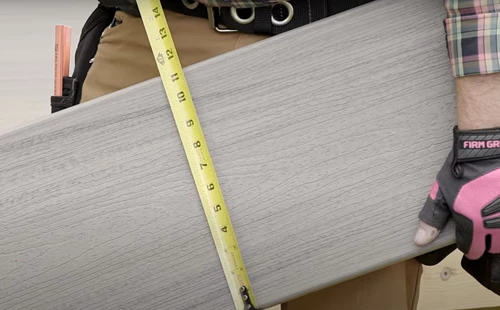
Measure twice—Cut twice
When making your cuts, it won’t hurt to cut it a tiny bit longer than you think necessary. Most decks only require a handful of fascia boards, so a couple extra trips back to the cut station is not a big deal. One simple trick is to get into the habit of cutting on the outside of your pencil or marker line every time.
Scribe for accuracy
If you try to join two fascia boards with miters cut perfectly square, they won’t line up on corners where one or both joists are out of plumb (which is not uncommon). For outside miters, you will have better results if you hold the board in place and scribe the location of the cut on the board itself.
Check miter alignment with a scrap
When the joist are out of plumb at an outside corner, scribe, cut and install the first board, and practice getting the miter cut just right on the second one using a scrap fascia board to find the exact angle necessary for perfect alignment.
Straighten miters with a shim
If you have two joist that are out of plumb at a corner, you can sometimes install a narrow shim behind one or both of the fascia boards to bring them into alignment.
Leave expansion gaps
When composite and PVC fascia boards heat up, they expand. If two boards that are butted tightly together both start to expand on a hot day, they will push against each other and cause unsightly bowing, or worse, fastener failure. Some manufactures require a gap of 1/8 in. when installing fascia on days warmer than 40 deg. F, and a 3/16-in. gap when installing them on days colder than 40 deg. F. Always check the gap requirements that apply to the specific fascia boards you’re installing. Gaps that small are barely noticeable, but below you will find several tips that will help make them even less conspicuous.
Use butt joints on inside corners
The joints at inside corners don’t need to be mitered. An inside corner butt joint is easier to create and will hide a gap better than an inside miter joint. You can also use outside corner butt joints if you are installing white PVC fascia boards where the end grain looks similar to the exposed surface. But don’t use butt joints on outside corners when installing fascia boards that have a core color and texture that does not match the exterior surface of the board.
Consider scarf joints
Try a scarf joint instead of a butt joint for those long runs, where more than one fascia is needed to cover the joist. Scarf joints are created by joining two boards that have corresponding 45-deg. angles cut along the width of each board. Scarf joints are trickier to create than butt joints but do a better job of concealing gaps.
Create your own trim pieces
Creating trim pieces is another way to conceal expansion gaps. You can create trim pieces that deck boards butt directly into or create rabbets (with a router or table saw) on the back side of the trim pieces so the fascia boards slide a little ways under them. Make sure you still maintain the required gap between the fascia board and the trim pieces.
Black-out under seams
If you use butt joints when installing fascia boards, installing black self-adhering flashing on the joist behind the joint or painting that area black will help conceal the gap.
*Fascia board fastening best practices
It doesn’t matter if you are installing the best fascia money can buy and using the highest quality tools available, if you don’t use approved fasteners and install them in the proper place, your deck fascia boards will not look good or last for decades. The tips and guidelines below will help you achieve the best results.
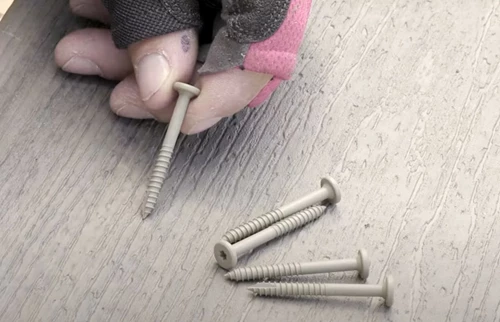
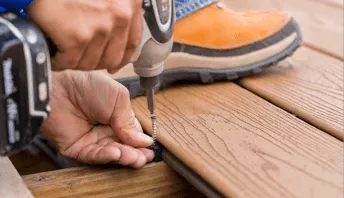
* What Kind of Screws Do You Use for Fascia?
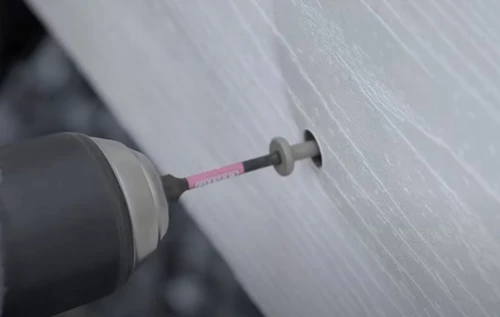
The heads on composite fascia board fasteners often have a larger diameter and have more holding power than standard composite deck screws. That’s important because the forces caused by expansion and contraction more severely affect fascia board’s wider widths and thinner profiles. In order to get those wider screw heads to sit flush with the surface of the fascia, a special countersink bit is required. The countersink bit also predrills a hole for the fascia fastener which is a little bigger than the shank of the fastener. This allows the fascia to float on the fastener and not buckle when the board expand or contracts. To make the screw head less conspicuous, you should be able to find a fastener the same color as your facia, and if you want to make the heads nearly disappear altogether, there are plugs available made out of the exact same material as the fascia.
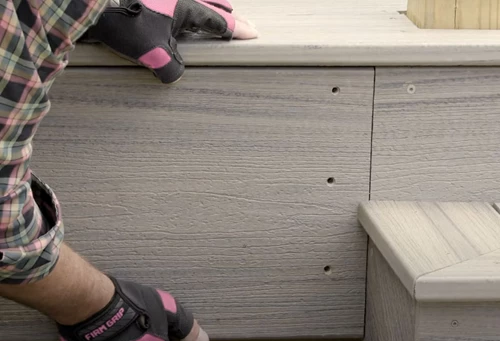
*What is the Spacing for Deck Fascia Screws?
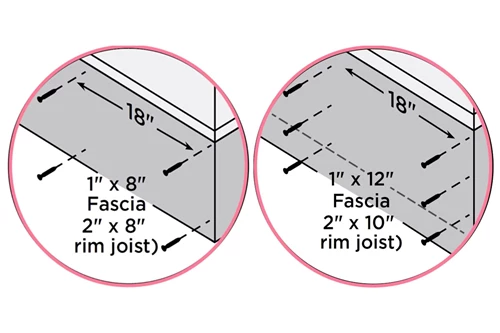
When installing composite and PVC fascia boards with approved fasteners, space the screws no more than 18 in. apart along the length of the board. When installing 8-in. wide fascia, you will need two screws every 18 in., and when installing 10-12 in. fascia, you need three screws every 18 in. The screws should be installed 1 in. away from both the top and bottom of the joist as well as within 1 in. of the ends of the fascia boards.
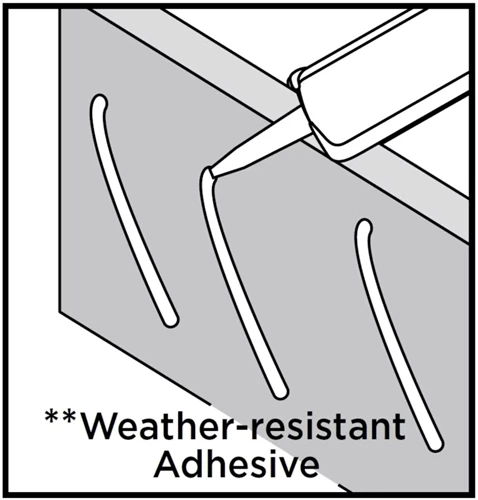
*When should you use adhesive to fasten deck fascia boards?
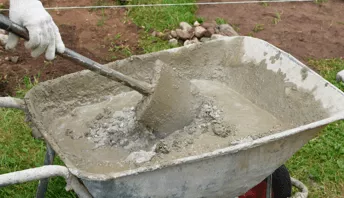
It's possible to install composite and PVC fascia boards with composite decking type screws. But because the heads are smaller and have less holding power, you will need to install the screws every 12 in. rather than 18 in. and you will also need to install a weather resistant/exterior grade construction adhesive. When installing PVC fascia boards, make sure to choose an adhesive that is PVC compatible because not all adhesives are.

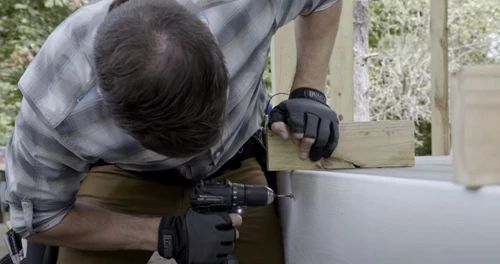
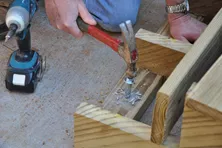
Start in the center or on one side
When installing longer fascia boards, if you start by fastening both ends and then work towards the middle, you could end up with a bow in the middle. Avoid this by starting at one side and then working your way down to the other end or by starting in the middle and working your way out towards each end. It's sometimes easier to pre drill the holes while the facia boards are on sawhorses before setting them in place.
*Exact instructions vary from one manufacturer to another, so always check the installation manual for the specific product you are installing.
Learn More About Deck Fastening Tips and Techniques
Fascia Installation Step by Step
Best Hidden Fasteners for Decking
How to Install Decking Over Existing Concrete Slab, Patio, or Porch
Discover the best techniques to build a deck over concrete, ensuring proper drainage and stability, while creating a beautiful outdoor space.

Best Hidden Deck Fasteners
Hidden fasteners create a clean deck surface and can be used with composite, wood and other materials. Learn about hidden deck fasteners at Decks.com.

Dos & Don'ts for Homeowners to Consider When Building a Deck
Your dream deck can take whatever shape you like. The trick is making it fit your budget and site conditions. While the deck doesn’t have to be built as a rectangle, there could be good reasons for doing just that.
How to Build Box Steps for Your Deck
Learn how to build a set of box platforms to act as stairs for a low deck. You don't need to cut stair stringers.

Installing Deck Stair Railings
Ensure your deck stair railing is safe, sturdy, and code compliant with this expert DIY guide. Learn about permits, materials, tools, and the best practices for a flawless installation.
Anchoring Deck Stairs
Learn how to anchor your deck stairs to a concrete landing pad or footings. Follow our step-by-step instructions with photos.
More Helpful Resources
Explore Articles by Topic
Footings
Information related to installing frost footings for decks
Framing
Learn structural framing methods
Decking
Learn about wood and composite decking materials
Stairs
An in-depth look at the complex issue of how to build stairs
Railings
How to install guardrails and handrails to meet IRC code
Features
An overview on water drainage, benches, planters and lights
Design
The basics of deck design
Planning
Learn about permits and working with contractors
Porches & Patios
Build a covered deck to enjoy all seasons
Ledger
Proper attachment techniques
Care
Maintain your deck to maintain your investment
Materials
An overview on water drainage, benches, planters and lights

What to Consider When Building A Wrap-Around Deck
Looking to add a wrap-around deck to your home but unsure of what the process involves? Check out this guide to learn more about top considerations when building a wrap-around deck.
Best Hidden Deck Fasteners
Hidden fasteners create a clean deck surface and can be used with composite, wood and other materials. Learn about hidden deck fasteners at Decks.com.
6 Best Alternatives to Wooden Decking
While wood decking was previously considered the standard material for building a deck, that’s changed. Homeowners have been exploring and embracing different types of materials, and the availability of alternative decking materials has grown significantly.
Installing Deck Stair Railings
Ensure your deck stair railing is safe, sturdy, and code compliant with this expert DIY guide. Learn about permits, materials, tools, and the best practices for a flawless installation.
How to Build Box Steps for Your Deck
Learn how to build a set of box platforms to act as stairs for a low deck. You don't need to cut stair stringers.
How to Build Deck Steps and Stairs
Stairs can be one of the most challenging aspects of building a deck. Find out how to build deck steps and watch our step-by-step DIY video.
Explore Articles by Topic
Footings
Information related to installing frost footings for decks
Framing
Learn structural framing methods
Decking
Learn about wood and composite decking materials
Stairs
An in-depth look at the complex issue of how to build stairs
Railings
How to install guardrails and handrails to meet IRC code
Features
An overview on water drainage, benches, planters and lights
Design
The basics of deck design
Planning
Learn about permits and working with contractors
Porches & Patios
Build a covered deck to enjoy all seasons
Ledger
Proper attachment techniques
Care
Maintain your deck to maintain your investment
Materials
An overview on water drainage, benches, planters and lights