Laying Deck Boards
Laying deck boards is the part of the process when your deck truly begins to come to life. The materials you’ve chosen and the style and color of your decking play a role in creating your outdoor aesthetic. Whether you plan to lay your boards in a more traditional linear style, or have decided that an intricate inlaid pattern is right for your design, there are some best-practices to follow when installing decking boards.

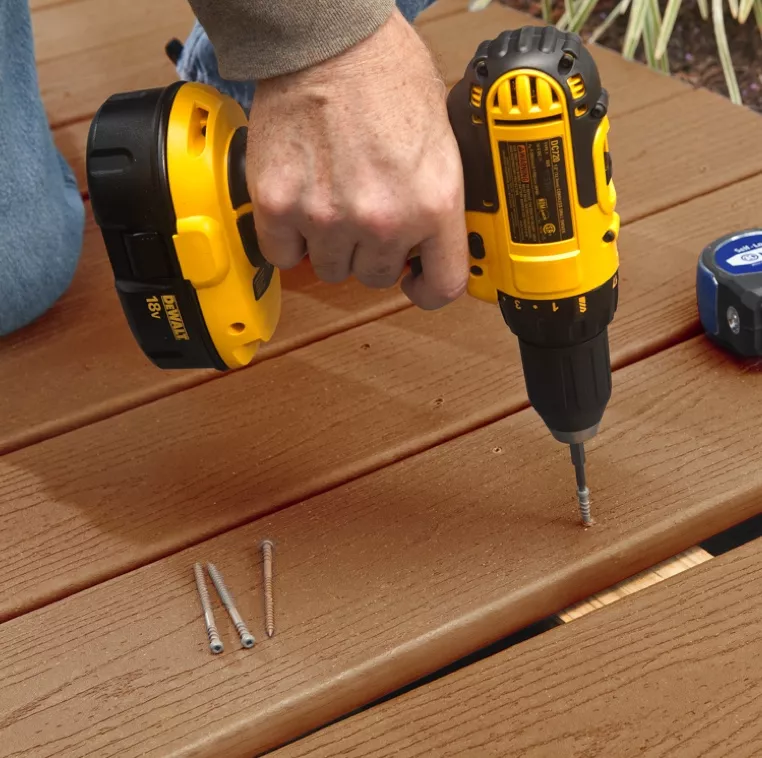
Make sure you level both joists to the same height and fasten with 4 screws every 12" to support the composite butt joints.
-
Composite decking offers the look of wood without the rigorous upkeep. From controlling deck seams to working with hidden fastener systems, learn more about how to install composite decking.
-
When laying down your decking, it’s important to have just the right amount of space between your boards. The amount of spacing between boards varies by deck materials, but proper spacing and ventilation can make it easier to clean between boards.
-
Picture framing (or racetrack decking) finishes the perimeter of a deck and covers exposed deck edges. Learn how to do this edging technique for a “picture” perfect look.
Make sure you level both joists to the same height and fasten with 4 screws every 12" to support the composite butt joints.
Installing Deck Railings
Installing deck railings is critical for elevated decks, making them compliant with building codes and helping make enjoying your deck safer. Before you start installing railings, familiarize yourself with the components and steps involved to make the process smoother.

Build a jig using scrap material to assist in drilling the baluster connector locations. The width of this jig was cut to 1 1/4" wide to fit inside the channel in the top rail and center on the bottom rail. The manufacturer recommends 4 3/8" on center spacing for 3/4" steel balusters. If you plan on tightening your spacing of balusters, make sure you order extra balusters.
-
From railing caps to balusters, learn about the different parts and components of deck railings.
-
Current building codes call for stronger posts that need to be installed prior to adding decking. Learn how to install sturdy deck rail posts to give your railing greater stability.
-
While balusters may be the most expensive railing component, they’re one of the most important and crucial to your railing’s safety and adherence to IRC codes.
-
Composite deck railings are a low-maintenance option that requires minimal upkeep, and is available in easy-to-install kits and systems. Learn how to install composite railings.
Build a jig using scrap material to assist in drilling the baluster connector locations. The width of this jig was cut to 1 1/4" wide to fit inside the channel in the top rail and center on the bottom rail. The manufacturer recommends 4 3/8" on center spacing for 3/4" steel balusters. If you plan on tightening your spacing of balusters, make sure you order extra balusters.
Building Deck Stairs
Building deck stairs can be one of the most difficult parts of building a deck. It requires patience, precision, and a grasp on the mathematical calculations required to construct your deck stairs properly. Your deck stairs will also require hand railings of their own to add greater stability. Learn more about the calculations and components involved in building deck stairs and completing your deck.
Having the right calculations beforehand can make building deck stairs a lot easier. Learn how to calculate rise and run, dimensions for the rise, step height and tread depth, as well as stringer length.
How to Build Deck Stairs & Steps
From learning the different parts of deck stairs to understanding common codes requirements, get tips for building deck stairs and troubleshooting any issues throughout the process.
Learn more about the specific guidelines for handrails on stairs, as well as best-practices for constructing them.
How to Install Deck Stair Railings
Get step-by-step instructions for installing deck stair railings and learn more about the specifications required for guardrail height and openings.
More Chapters In This Guide
Start your deck-building process with Decks.com


