Building a Round or Curved Deck
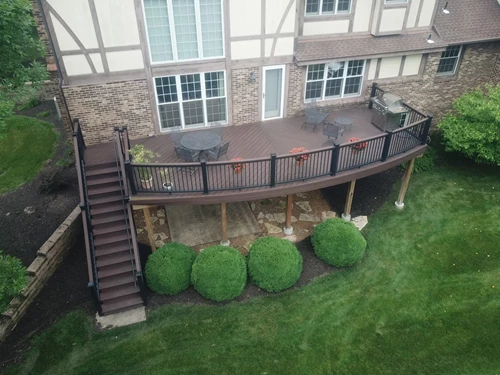
Stepping away from the idea of a conventional linear deck opens up a whole new world of design opportunities. You’re no longer restricted to straight lines and sharp angles. Instead, you can take a free-form design approach and incorporate soft, curved elements into your outdoor leisure area.
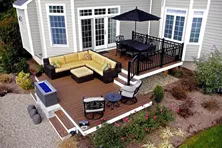
A curved deck gives you a truly distinctive decking aesthetic, free from traditional deck design constraints. Not only are round decks unique, but they also help tie together a property's existing or planned curved features to achieve a cohesive and intentional design.
However, a curved deck is more complex than a traditional linear deck due to the straight and rigid quality of decking materials. Therefore, additional considerations need to be made, such as substructure design, material choices, time frame, and cost. With the right approach, a round deck can be a wonderful, one-of-a-kind addition to your property that you can enjoy for years to come.
Considerations when Building a Rounded Deck
You'll need to consider several factors when choosing between a conventional or rounded deck. Here’s a closer look at what installing a curved deck will entail.
Existing & Planned Features
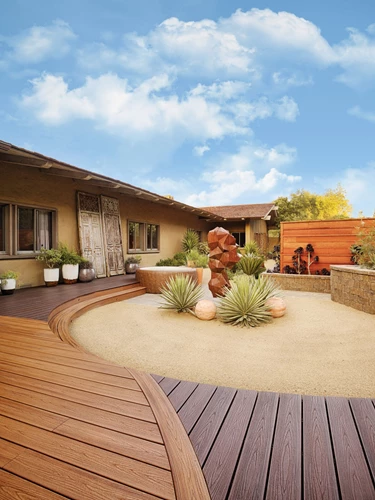
You won’t always have a blank canvas when adding a deck to a property. Existing structures and new elements you wish to add can dictate your design layout. For example, if you want to add a deck to an existing curved patio edge, a rounded deck facilitates this design choice, as would adding curved decking to fit a future round spa or fire pit. A linear-edge deck disturbs a cohesive design that seamlessly implements these rounded features.
Substructure Design
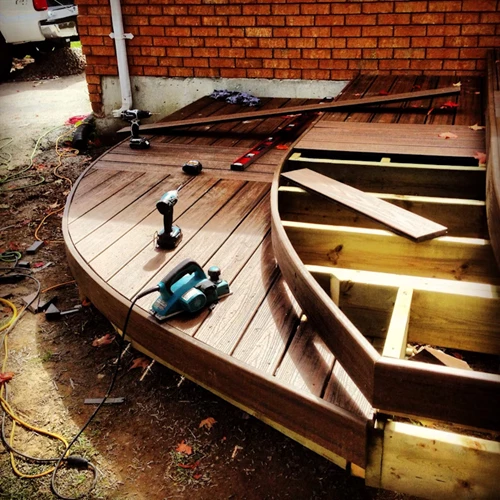
The decking substructure is the framing and foundation below the decking surface material. When you design a rounded deck, you must account for the curve's overhang, which requires additional substructure for support. A secure substructure is a key step in constructing a rounded deck and must be installed correctly to ensure structural integrity.
Installation Time Frame
The extra substructure for curved deck framing usually means extra installation times compared to a conventional square deck. Depending on the complexity of your design, this could be significant when working out your timeframe. However, factors such as material choices and contractor ability can all affect how long an installation of a curved deck will take.
Material Waste
The contractor needs to trim off excess material to form a curved or rounded edge on a deck. Due to the angle of the cut not being straight, these cutoffs typically result in waste material. However, with careful planning and clever design, this wastage can be kept to a minimum.
Extra Requirements
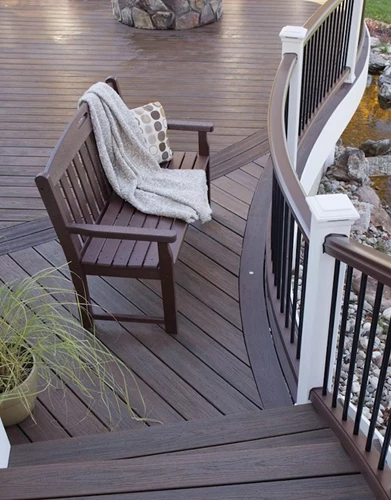
Depending on your deck design, hand railing may be needed to meet local code for safety and mobility access. Thankfully, various materials are available to meet your curved deck railing design needs, regardless of the radius.
Are curved decks more expensive?
Once you consider all the factors associated with installing round decks and railings, the cost will inevitably be greater than a regular linear deck. The added labor, specialty skills, material, wastage, and manufacturing requirements all add to the cost of a curved deck.
While round decks are more expensive, they add a distinctive look that sets your home apart.
How to Build a Curved Deck
Building a curved deck introduces a level of complexity and elegance that sets it apart from traditional straight deck designs. Unlike a straight deck, which involves straightforward cuts and alignments, a curved deck requires precise planning and craftsmanship to achieve smooth, sweeping lines that seamlessly flow with the landscape. There are two primary methods to create a curved deck: curving the boards or cutting boards at an angle to mimic a rounded appearance.
Curving the boards often involves bending techniques and materials designed to flex without breaking, typically applied to the perimeter board for a striking visual effect. This approach can extend to all boards if a fully curved deck is the goal. On the other hand, cutting boards at specific angles to form a rounded look can be a simpler and less labor-intensive method, while still achieving a beautiful curved aesthetic. Both methods require careful consideration of materials, tools, and construction techniques to ensure a sturdy and visually appealing deck.
1.Planning, Design, & Permits
Researching the local building requirements of your area will help you get an idea of how to add a curved deck to your property. Once you’re familiar with your local building criteria and codes, you can start designing your deck. Submit plans with your final design to your local permitting department for approval.
2.Materials, Equipment, & Labor
The next task is to order the necessary materials to complete your decking project. You will need to list all the materials you need for your plans, from concrete to decking and screws to straps. Then it’s on to the tools. This includes equipment like power saws, drills, socket wrenches, and augers. If you’re hiring a contractor, they’ll provide all the tools and materials, as well as a crew, to get the job done.
3.Construction - Footings
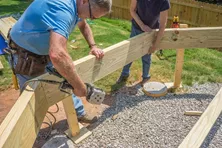
Footings are the parts of construction that your deck will sit on, and are made of typically poured concrete. Factors such as soil makeup, frost risk, topography, and load determine the type of footings the deck needs. The number of footings required, location, and building technique will all be determined during the design and planning stages.
4.Construction - Sub-Framing
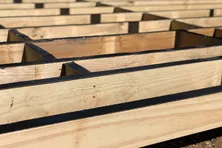
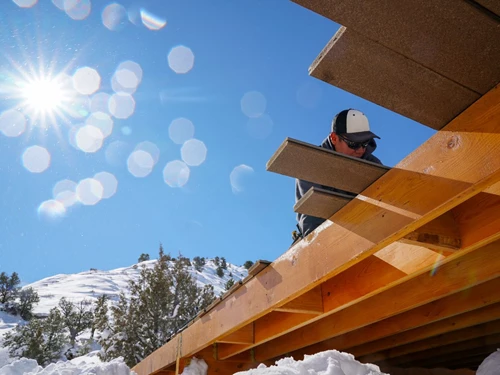
The sub-framing is located between the footing and the finished decking material. A load calculation will determine the sub-framing's design to ensure the finished deck can withstand loads as per local code.
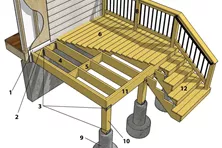
Here is a brief explanation of the various elements that make up deck sub-framing.
- Support posts are the vertical posts that raise the deck from footing to beam height.
- Beams connect horizontally to the top of the support posts, providing a structure to connect to the upper sub-frame.
- Ledgers connect the joist sub-frame to an existing structure/s and provide lateral support.
- Joists are positioned on top of the beams and span the deck width perpendicular to the beams to provide support and fixing points for the decking material.
- Joist bridging sits between the joist at a perpendicular angle to prevent joist collapse.
- Rim joists are the outer joists.
- Curved rim joists provide the outer curved structure of the sub-frame.
- The hardware of a subframe consists of components such as joist hangers, strapping, and post-base supports. These items provide increased structural strength.
- Hardware consists of items such as bolts, washers, nuts, screws, and nails, which are used to tie the structure together.
- Weather sealing consists of products such as flashing, membranes, and wood treatments designed to prevent water ingress and water damage to your new deck.
As a general rule, decks must be constructed to support at least 50 pounds per square foot (psf). Various calculations determine the size and amount of material needed to achieve this goal.
As an example, for a 12 x 10 foot deck, you will need:
- Joists: 2x8 lumber, spaced 16 inches on center, with a maximum span of 10 feet.
- Beams: 2x10 lumber, spanning the 10-foot width of the deck, spaced every 12 feet along the length.
- Posts: 4x4 or 6x6 lumber, spaced 6 to 8 feet apart.
- Ledger Board: Sized appropriately and securely attached to the house.
- Footings: The footing diameter depends on the type of soil, number of footings, and weight of deck.
For a better understanding of the necessary calculations, you should consult a professional or see our extensive library of deck plans.
5. Construction - Decking
Once the subframe is completed, the decking material can now be installed. The boards must be laid perpendicular to the joists and attached at intervals per your building design. Once installed, excess material can be trimmed off. Contractors use methods such as steam bending for wood and heating methods for composite materials to make them pliable. Achieving a smooth and continuous curve requires careful pre-planning.
Detailed templates or drawings can guide the bending process, ensuring the deck's radius aligns with the material's flexibility. During installation, laying boards from the outer edge and moving inward helps maintain an even curve. Regular alignment checks and adjustments ensure the curve remains consistent throughout the decking process. Once softened, the boards can be gently bent to follow the curved outline of the deck's edge, ensuring a smooth and continuous curve.
6. Fascia
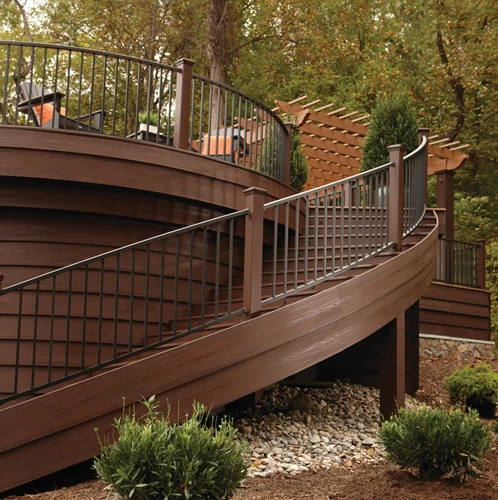
Deck fascia is made from the same material as composite deck boards, but it's thinner, which makes it flexible. This flexibility allows composite deck fascia to bend along its length, making it suitable for wrapping around standard curved decks. Only in cases of an unusually tight radius would heating be necessary. However, the wooden substructure to which the composite fascia board is attached lacks this flexibility.
Typically, on a standard deck, the outer band or rim joist consists of the same lumber as the other joists, with the thick wood capable of accommodating only minimal curves. A popular technique for creating a curved rim joist involves layering thin sheets of weather-resistant plywood. These are installed one layer at a time using clamps, adhesives, and fasteners, building up to a thicker, structural board through this lamination process.
7. Railings
When adding railings to your decking design, you’ve got to consider the installation process before laying the decking. This is because it’s common for vertical posts to extend through the deck to connect the handrail to the sub-frame. If this is the case, you'll need to create additional support for the decking material around the handrail posts.
8. Steps & Stairs
Like the handrails, you'll need to check your deck's design and figure out the best time to construct the stair/step structure. Usually, the stair stringers or steps are installed simultaneously with the main sub-frame, and then finished along with the main decking.
Visit our gallery for ideas. Curved Deck Pictures Here or download a free Curved Deck Plan Here.
Composite vs Wood for Curved Decks
Wood or composite are typically the two prominent choices for decking materials.
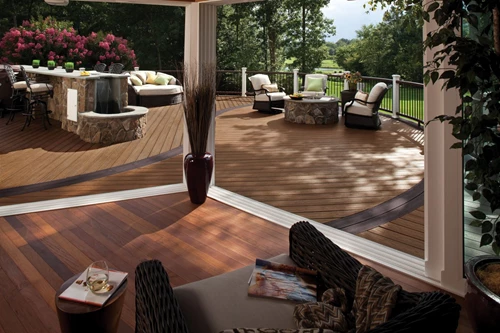
Being quite a rigid material with very little usable flex, wood requires painstaking processes to achieve even the smallest radius curve. In contrast, composite is easier to curve and can accommodate complex designs. This isn't to say that curves cannot be achieved using wood. However, wood curving techniques are expensive and take significantly longer to build.
Another note worth considering is that products such as Trex Decking are made from 95% recycled and reclaimed material, including sawdust and plastic bags, unlike wood decks, which source material directly from tree harvesting.
Can Trex decking be curved?
Manufacturers such as Trex have a wide range of composite products, including decking and railing, that can be ordered curved or curved on site. We recommend contacting specific manufacturers directly or consulting with a professional decking builder, such as TrexPro. These curved composite decking builders install decks according to the manufacturer's requirements and can advise you on the best materials for your project.
Learn More About Building a Deck
Before you start on your new deck, here are a few of our articles to help plan your deck build.
How to Decorate Deck Support Columns
Browse some examples of decorative deck support posts for tall decks.
Roof Top Deck Construction
Rooftop decks transform otherwise wasted space into beautiful planes for entertaining, dining, relaxing and even gardening. The views will make your deck the talk of the neighborhood and draw frequent guests to your home or business.
Determining Deck Beam Height
Learn how to measure in order to set your posts to properly position your deck beam to the correct height. We recommend sloping your deck to shed water away from the house.
How to Install Decking Over Existing Concrete Slab, Patio, or Porch
Discover the best techniques to build a deck over concrete, ensuring proper drainage and stability, while creating a beautiful outdoor space.
Anatomy of a Deck
A comprehensive guide to help you learn the names and understand the functions of every part of your deck.
How to Demolish & Remove a Deck
At some point, it might become necessary to remove an old deck, due to age or condition. Learn more about what's involved in a deck demolition and removal project.
More Helpful Resources
Explore Articles by Topic
Footings
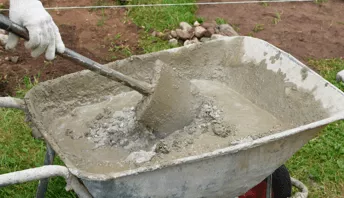
Information related to installing frost footings for decks
Framing
Learn structural framing methods
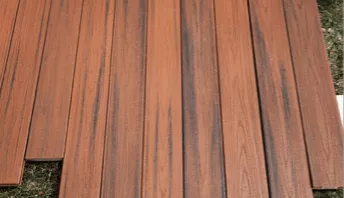
Decking
Learn about wood and composite decking materials
Stairs
An in-depth look at the complex issue of how to build stairs
Railings
How to install guardrails and handrails to meet IRC code
Features
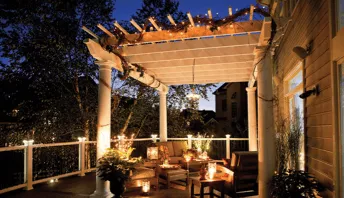
An overview on water drainage, benches, planters and lights
Design
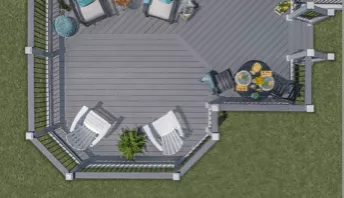
The basics of deck design
Planning
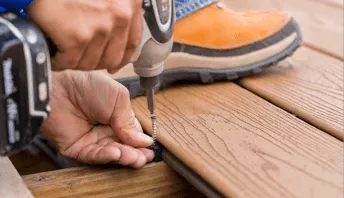
Learn about permits and working with contractors
Porches & Patios
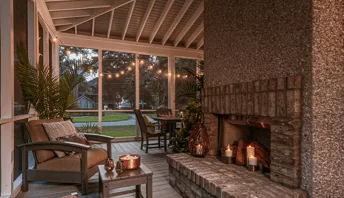
Build a covered deck to enjoy all seasons
Ledger
Proper attachment techniques
Care
Maintain your deck to maintain your investment
Materials
An overview on water drainage, benches, planters and lights
Why is Joist Protection so Important for Your Deck?
If you’ve ever seen a piece of wood left out in the weather for any period of time, you know what happens: decay. Whether through wet rot, insect damage, or mildew, the fibers begin to break down.
How to Install Flush Deck Headers & Beams
Flush beams are a great solution when space and clearance may be limited. Learn how to install deck headers and flush beams at Decks.com.
How to Build a Multi-Level Deck
Multi-level decks are very popular. Learn how to build a deck that steps up or down using shared posts and footing connections.
What to Consider When Building A Wrap-Around Deck
Looking to add a wrap-around deck to your home but unsure of what the process involves? Check out this guide to learn more about top considerations when building a wrap-around deck.
How to Build a Floating Deck
A deck does not need to be attached to a house. Building a floating deck allows you the opportunity to create that perfect outdoor space anywhere on your property. Find out if a floating deck is the best option for your new outdoor oasis.
How to Demolish & Remove a Deck
At some point, it might become necessary to remove an old deck, due to age or condition. Learn more about what's involved in a deck demolition and removal project.
Explore Articles by Topic

Footings
Information related to installing frost footings for decks

Framing
Learn structural framing methods

Decking
Learn about wood and composite decking materials

Stairs
An in-depth look at the complex issue of how to build stairs

Railings
How to install guardrails and handrails to meet IRC code

Features
An overview on water drainage, benches, planters and lights

Design
The basics of deck design

Planning
Learn about permits and working with contractors

Porches & Patios
Build a covered deck to enjoy all seasons

Ledger
Proper attachment techniques

Care
Maintain your deck to maintain your investment

Materials
An overview on water drainage, benches, planters and lights

