How to Screen in a Porch, Patio or Deck
A screened-in porch is an excellent place to relax, read a book, do a crossword puzzle, or chat with your soulmate, all while keeping pesky insects on the other side of the stunning enclosure. A DIY screened-in porch allows refreshing breezes to flutter over you and shades you from harsh sunlight. You can get the same benefits with a DIY screened-in patio, assuming the patio was designed with the proper foundation to support your new private insect-free oasis!
Benefits of Screening in a Porch
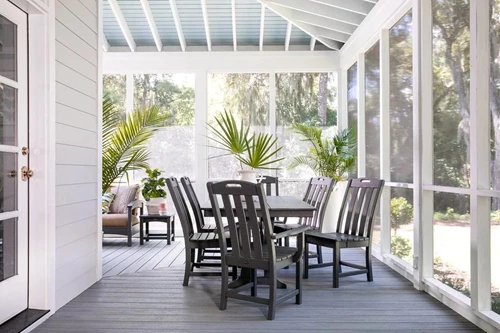
You’ll not be the first homeowner to immediately recognize that a screen porch creates a dry, insect-free outdoor living area where you can still enjoy the outdoors rain or shine. If you’ve suffered a swollen itchy mosquito bite or a puffy painful bite from a black or horse fly, you’ll instantly know why a screen-in porch is the way to prevent this agony. Screening in a porch offers numerous advantages, from enhancing your home's value to creating a comfortable outdoor space you can enjoy year-round.
How Much Does It Cost to Screen in a Porch?
Screened-in porch costs are a moving target. Prices depend on the type of porch you decide to have, the screen porch materials you choose to use, whether or not you’ll include electricity, the difficulty connecting the porch to your existing home, and several other factors. When you research how much it costs to screen in a porch, or screened deck consider all the things that need to happen to make your dream come true.
First, you have to see if your zoning code will permit it. Then you need to investigate the level of plans called for by your local building department to obtain a building permit. You may draw the plans yourself for permit purposes, but they may not be good enough to answer all the questions you’ll have as you break out your tools.
How to Add a Screened in Porch
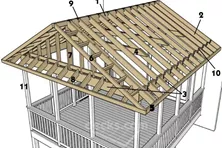
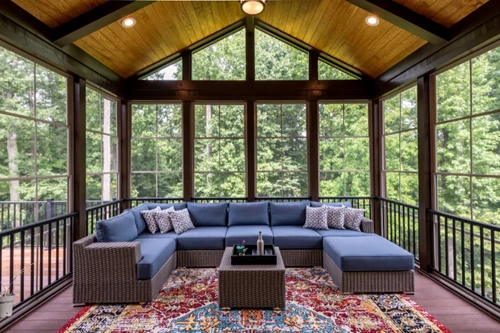
Building a screened space over a porch, deck, or patio is no small task—it's a detailed and multi-step construction project. It begins with designing and planning the layout of your space, followed by engineering the roof and floor structures. Next, you'll need to create detailed construction drawings to meet the requirements of your local building department, apply for and obtain a building permit, and order the necessary materials.
The construction itself involves building the roof and floor structures, installing roofing, and adding porch materials or decking with railings (if the finished floor is elevated more than 30 inches). Once the building department approves your final inspection, the structure is ready for the installation of the screen frame and fabric.
It may seem like a big undertaking—and it is. That’s why, after envisioning your screened space and sketching a basic layout, it’s wise to entrust the rest to a licensed contractor. With their expertise, professional tools, and access to quality materials, they can bring your vision to life efficiently, ensuring the project is completed correctly, safely, and to the highest standard.
Porch Screening: Roof Installation Complete
If your property already has a roof, it’s reasonable to assume the existing floor met building code requirements at the time of construction. In such cases, you likely won’t need a building permit. However, it’s always wise to confirm this with your local building department. Take the opportunity to review relevant building code regulations, such as joist spans, joist spacing, beam spans, and post spacing, to ensure compliance. Verifying these details before proceeding without a permit can save you time and prevent potential issues down the line.
Below are some typical floorings you'll experience in your screen porch project.
Existing Concrete Patio at Ground Level
If your current flooring is concrete or composite and in good condition, you may save both time and money on your project. Begin by carefully inspecting the concrete or composite floor for any signs of settling or horizontal movement away from the home. If neither issue is present, this is the perfect opportunity to address any cracks or chips. Use a concrete patch—commonly made from mortar, latex, or epoxy—to restore the surface. These products are readily available at most stores that sell concrete supplies.
Also, take the time now to inspect your roof framing and roof support posts.
- Inspect the wood framing for any signs of water stains, as these may indicate leaks that could lead to rot. Addressing rotted structural components is often best left to a qualified contractor.
- Look for evidence of insect infestations, such as termites or carpenter ants. If wood-boring pests are present and you’re unsure a DIY solution will suffice, consult a pest control professional before moving forward with the screening phase of your project.
- Examine the metal hardware connecting the structural elements for rust, corrosion, or decay. Ensure all fasteners are secure and properly tightened.
Keep in mind that the members you inspect are structural, so if you are not comfortable with making a determination, contact a qualified contractor or structural engineer for help.
Tongue and Groove Porch Flooring
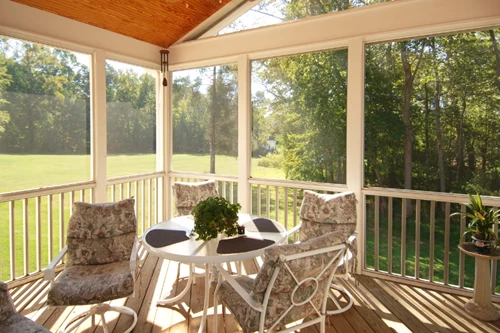
If your porch floor is not a concrete slab, your floor is likely elevated and supported by wood framing members - typically beams and joists. Whether the frame is elevated just 12" or 12', consider this porch a deck with a roof. Some decks with roofs have tongue and groove boards as flooring, a.k.a. porch flooring, and therefore are without gaps between the flooring boards. Porch flooring has both pros and cons in screen porch applications.
Pros of Porch Flooring
- No gaps between flooring deter flying insects from entering underneath the porch
- Traditional porch flooring aesthetic
Cons of Porch Flooring
- Prone to water puddling and subsequent rot, especially at the perimeter
- A proper slope is required for adequate drainage
- Can be slippery when wet
- If wood-based, requires painting and maintenance
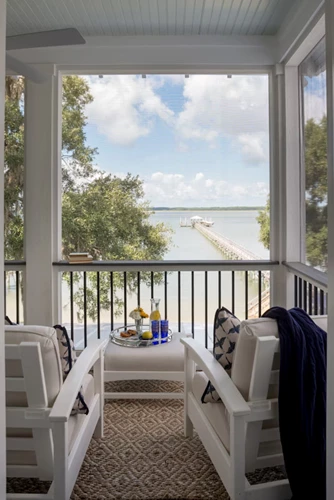
Composite Decking as Flooring
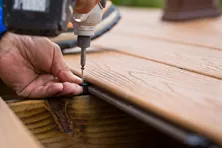
If your porch flooring isn’t tongue-and-groove, it’s likely made of deck boards. These boards typically have gaps between them—usually 1/8" to 1/4" wide—which can allow flying insects to sneak into your newly screened porch. A practical solution to this issue is to install screening material over the joists before replacing the deck boards. Since this requires removing existing boards, it’s the perfect opportunity to upgrade to low-maintenance Trex decking.
Trex boards not only prevent insect intrusion, but also offer easy cleaning, exceptional slip and scratch resistance, and a wide variety of colors and wood-grain finishes. By switching to Trex, you’ll enhance both the beauty and value of your newly screened porch.
Pros of Composite Decking as Flooring
- Gaps between boards allow water to pass through flooring
- Wide assortment of nature inspired color and wood-grain options
- Very low maintenance
- Excellent slip-and-scratch resistant
- Long-lasting
Cons of Composite Decking as Flooring
- Requires screening over floor joists prior to installing deck boards to deter insects from accessing the screened porch through gaps
- Premium price over pressure treated deck boards
Installing Screen Material Beneath the Deck Boards
After removing the old decking, inspect the framing and hardware for signs of rot or decay. Fiberglass screen fabric works well for this project. It comes in widths from 24" to 96" and lengths of 25' to 100'. Sketch your porch area to choose the most efficient roll sizes and minimize waste.
Once repairs are done, drape a single width of screen fabric over the joists, running it perpendicular. Cover the top of the side rim joist and staple the fabric to it every 12 inches, keeping it tight. Pull the fabric across the joists and staple it to the opposite rim joist, also at 12-inch intervals. Then, secure the fabric to the intermediate joists with the same spacing, trimming any excess material. For additional rolls, overlap edges and ends by at least 6 inches to block insects. Make sure overlaps are secured directly over joists, not between them. Since the fabric isn’t structural, step only where joists provide support.
With the screen securely in place, install the decking according to the manufacturer’s instructions.
While simple screening methods involve stapling fabric to existing posts, this approach focuses on durability and functionality. It may not be the most attractive solution, but it keeps pests out and your porch usable.
Framing Porch Doors and Openings
When designing your porch, selecting a door during the planning phase is crucial. Doors require specific rough-in dimensions for proper installation, so ensure the opening is wide and tall enough, accounting for any finish trim that may overlap the support posts.
Avoid the common beginner mistake of making the rough opening too narrow, as it’s difficult to fix later. The same planning applies to screened openings—decide early whether to build or outsource the panels, and ensure they’re made of rot-resistant wood like pressure-treated lumber, redwood, or cedar for durability.
Both door and screen panel openings must be perfectly square, with equal diagonal measurements. To check for squareness and avoid a warped or helical shape, stretch a taut string diagonally across the opening in an “X” pattern. If the strings touch where they cross, the opening is aligned. If there’s a gap, adjust until the strings align perfectly. Careful planning and attention to these details will lead to a professional, sturdy final product.
Painting the Porch Screen Framing
The exposed wood framing of your porch screen can be left to naturally weather or painted for a polished look. If you choose to paint, it’s essential to follow specific techniques to reduce the risk of peeling. Start by priming and painting every surface of the finished lumber, including all sides and cut edges. Pay special attention to the end grain, as this area is vulnerable to water absorption, which can cause swelling.
For best results, purchase all the trim lumber you’ll need and paint it thoroughly—including all surfaces—before cutting and installing it. After making any crosscuts, apply two coats of paint to the exposed end grain to ensure optimal sealing against moisture.
To avoid rust stains, use only hot-dipped galvanized or stainless steel fasteners. If your porch is near saltwater, stainless steel trim nails are a must to prevent corrosion.
For long-lasting results, choose an exterior paint with a urethane-resin base. These paints are highly adhesive and provide excellent durability when applied to properly prepared wood. Be sure to pre-paint all surfaces of the screen trim before attaching the screening to ensure complete coverage and protection.
Attaching the Screening
When it comes to screening systems, there are plenty of options to fit your needs, from simple DIY setups to advanced professional systems. Basic kits, available at retailers or online, usually include a base track, screen material, splines, and a track cover. These work well for smaller openings or simple projects.
For larger or more complex needs, professional systems are a great option. They can cover bigger openings and often let you swap screen panels for solid or clear ones. Clear panels are especially helpful for blocking wind and rain, extending the use of your outdoor space into spring and fall.
If you prefer DIY, you can build your own system using screening material and trim. If you’re new, start with a smaller opening to practice attaching the screen. Follow the manufacturer’s instructions—they’re a helpful guide.
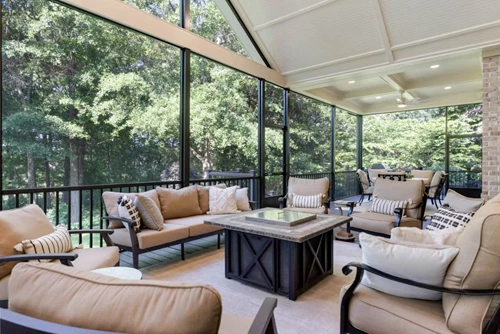
Other Things to Consider Before Building a Screened-In Deck, Porch, or Patio.
Consider adding electrical outlets to your porch, and always hire a licensed electrician for the installation. You’ll appreciate the convenience of outlets for floor or table lamps, as well as powering devices like computers or tablets.
On warm, stuffy days or nights, a ceiling fan can make all the difference in comfort. Also, take into account the sun’s daily path—low-angle rays at sunrise or sunset may stream through the screened porch. Lastly, think carefully about the ongoing maintenance requirements of the materials and products in your new outdoor retreat to ensure it remains your perfect haven.
Types of Screen Fabric
You’ll soon discover you’ve got a serious decision to make regarding the actual screen for your screened-in porch. Screen material for a screened-in porch is available in many different types. Here’s a short list of types of screen fabrics:
- Aluminum
- Fiberglass
- High-Visibility
- Pet-resistant
- Solar
Aluminum Screen Fabric
Aluminum screened fabric is a legacy material. It’s strong, it doesn’t rust, the sun doesn’t damage it, and no matter how hot it gets, it’s not going to droop or distort. That said, it can - and does - dent if you press against it. It’s not the easiest material to install on your own, and if you live near salt water, you’ll discover the thin wires will start to change color over time.
Fiberglass Screen Fabric
Fiberglass screened fabric is popular for a number of reasons. Fiberglass is both widely available, and highly affordable, making it a popular choice. It resists dents and maintains its shape, but it lacks the durability of aluminum. While fiberglass is prone to cuts and tears, its biggest weakness is prolonged exposure to UV rays, which can cause significant damage over time, particularly in areas with strong southern sunlight.
High-Visibility Screen Fabric
You may not like how some screen fabric obscures your view to the outdoors. This is why high-visibility screen fabric was invented. Some are nearly invisible, yet they offer many benefits of fiberglass screen fabric. You will do yourself a favor by getting samples of traditional fiberglass screen and high-visibility screen fabrics, and doing a side-by-side comparison holding them five feet away from you. You’ll instantly see a difference.
Pet-Resistant Screen Fabric
Dogs and cats have a history of crashing through some fiberglass screening. Screen manufacturers responded with a material that can prevent holes in your new porch caused by your pet going after a pesky squirrel, bird, or chipmunk in your yard. Your local screened-in porch dealers will have samples of this durable material for you to see.
Solar Screen Fabric
If you live in a southern climate in the U.S. where the sun’s infrared rays are more intense, you can incorporate a screen fabric that’s designed to deflect and/or absorb the heat. Give this material serious consideration if you plan to be out on your new porch during the middle of the day, when the sun is beating down on your screening.
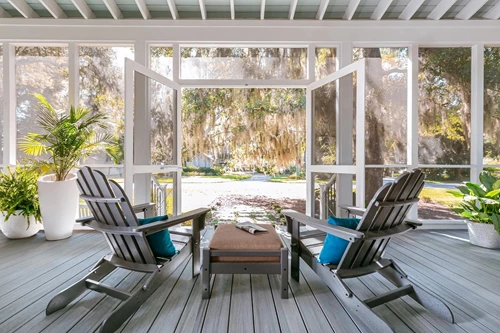
Ready to Screen in Your Porch?
You now have a good view of screen porch installation from 30,000 feet. There are dozens of details involved in creating a screened-in porch. You may tackle this large job on your own, but if you feel intimidated by the process, consider getting quotes from professionals. You’ll get the best quotes if you take the time to create great plans and provide photos of exactly what you want your porch to look like. Good luck, and enjoy your new screened-in porch for decades!
How to Build a Patio With Stone or Brick Pavers
Planning and installing a DIY brick or stone paver patio is a big project. Learn how to build a paver patio from start to finish here.
Parts of a Porch
Porches, just like decks, have a lot of different & important parts. Learn more about the anatomy of a standard porch with this article from Decks.com.
9 Conservatory Design Ideas for Indoor/Outdoor Living
Conservatories are a great way to ensure that you (and your plants) can soak up the sun all year round. Get inspired with conservatory design ideas.
How to Install Decking Over Existing Concrete Slab, Patio, or Porch
Discover the best techniques to build a deck over concrete, ensuring proper drainage and stability, while creating a beautiful outdoor space.
How to Demolish & Remove a Deck
At some point, it might become necessary to remove an old deck, due to age or condition. Learn more about what's involved in a deck demolition and removal project.
Tile decking
Installing tile over a standard deck frame in an exterior environment is a recipe for trouble.
More Helpful Resources
Explore Articles by Topic

Footings
Information related to installing frost footings for decks
Framing
Learn structural framing methods
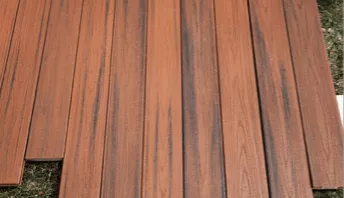
Decking
Learn about wood and composite decking materials
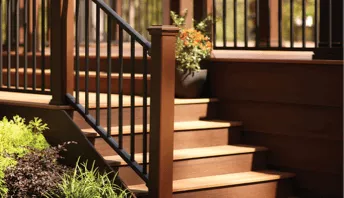
Stairs
An in-depth look at the complex issue of how to build stairs
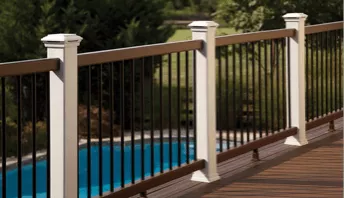
Railings
How to install guardrails and handrails to meet IRC code
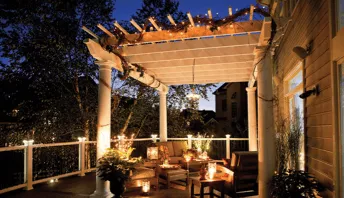
Features
An overview on water drainage, benches, planters and lights
Design
The basics of deck design
Planning
Learn about permits and working with contractors
Porches & Patios
Build a covered deck to enjoy all seasons
Ledger
Proper attachment techniques
Care
Maintain your deck to maintain your investment
Materials
An overview on water drainage, benches, planters and lights
9 Conservatory Design Ideas for Indoor/Outdoor Living
Conservatories are a great way to ensure that you (and your plants) can soak up the sun all year round. Get inspired with conservatory design ideas.
Shade Ideas for Decks, Porches, and Patios | Decks.com
Create a cool, relaxing haven with these 20 shade ideas. Perfect for decks, porches, or patios, these solutions help you stay comfortable while enhancing your backyard’s style.
12 Backyard Gazebo Ideas
Gazebos are a great way to create a focal point in your backyard. Get ideas and inspiration before you start your gazebo project.
What to Consider When Building A Wrap-Around Deck
Looking to add a wrap-around deck to your home but unsure of what the process involves? Check out this guide to learn more about top considerations when building a wrap-around deck.
10 Common Deck Building Mistakes & How to Avoid Them
Building a deck can be a complicated process. Learn how to avoid falling into common deck building pitfalls with tips and advice from the experts at Decks.com.
Picture Frame Decking
Install a picture frame or perimeter board to finish the edge of your deck with style.
Explore Articles by Topic

Footings
Information related to installing frost footings for decks

Framing
Learn structural framing methods

Decking
Learn about wood and composite decking materials

Stairs
An in-depth look at the complex issue of how to build stairs

Railings
How to install guardrails and handrails to meet IRC code

Features
An overview on water drainage, benches, planters and lights

Design
The basics of deck design

Planning
Learn about permits and working with contractors

Porches & Patios
Build a covered deck to enjoy all seasons

Ledger
Proper attachment techniques

Care
Maintain your deck to maintain your investment

Materials
An overview on water drainage, benches, planters and lights


