Types of Deck Flashing
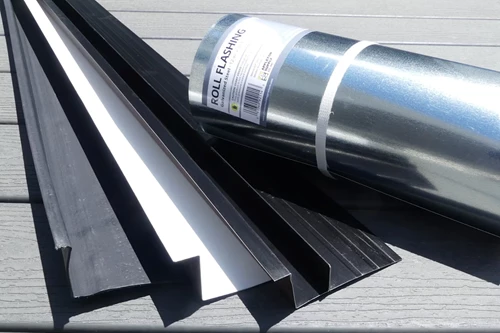
Installing deck flashing might not be the most glamourous part of building a deck, but it’s a crucially important step in the project. The exact flashing products and procedures you use will vary depending on the type of cladding you are working with, i.e. brick, stucco, wood, vinyl, etc. Also, the type of flashing you choose will depend on your budget, product availability, and several other factors we will discuss below. But regardless of all these considerations, it’s essential that you understand the various types of deck flashings you have at your disposal, what function each one performs, and which ones might be best for your project.
What is Deck Flashing?
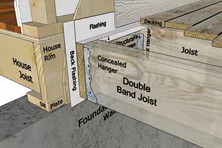
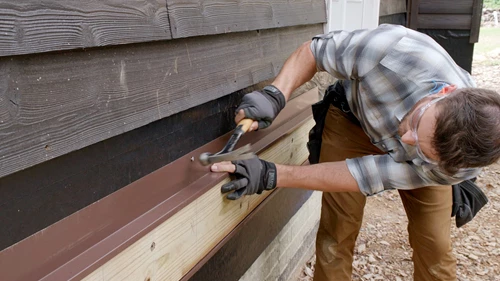
Deck flashing can refer to any one of the several components that form the barrier system designed to prevent moisture from entering the house through the ledger board/house connection. Flashing accomplishes this by sealing fastener penetrations and shedding rainwater out onto the cladding of the wall. Deck flashing is installed above, behind, and below the ledger board and can be made from metal, vinyl, or self-adhering membranes. In addition to ledger board flashing, joist flashing products are designed to prevent moisture from penetrating into the joists causing premature rot and deterioration.
Is deck Flashing Necessary?
Deck flashing is necessary because it prevents water from accumulating behind the ledger board which could cause damage to the board and its fasteners, potentially causing a deck to collapse. Properly installed flashing can also prevent water from damaging wall sheathing, cladding, and infiltrating indoor spaces causing expensive structural repairs and poor air quality due to mold growth. If the hazards above are not motivation enough to take deck flashing seriously, it’s likely that your local building inspector will want to know which flashing materials you plan to install, the specific flashing details you plan to employ, and will want to inspect your work once you’ve finished.
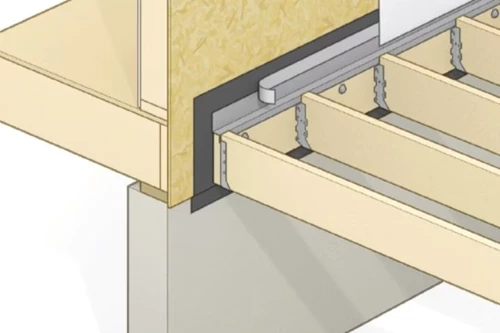
Types of Deck Flashing for Ledger Boards
There are several different types of ledger board flashing, each designed to perform a specific function. Here are the four major areas that need to be addressed when assembling an effective ledger board flashing system.
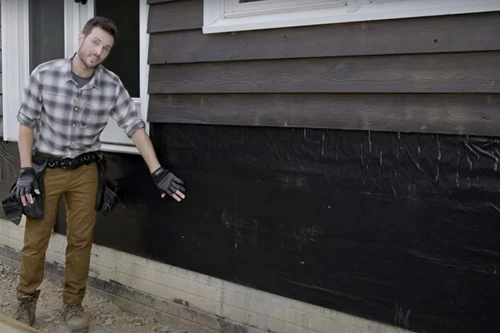
Flashing Behind the ledger
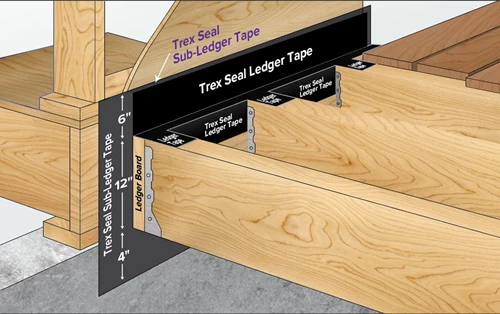
The flashing located on the sheathing behind the ledger is sometimes called back flashing or sub-ledger tape. One function of back flashing is to protect the sheathing behind the ledger board and prevent water infiltration into the wall cavity should any moisture find its way behind the ledger. Another function of back flashing is to seal the penetrations caused by the fasteners used to hold the ledger to the wall. It is possible for water to follow the path of these fasteners from the outside of the ledger all the way into the wall cavity. To prevent this, it’s best to install a self-adhering membrane that can create a seal around the fasteners, rather than to rely on a product like felt paper or house wrap for your back flashing.
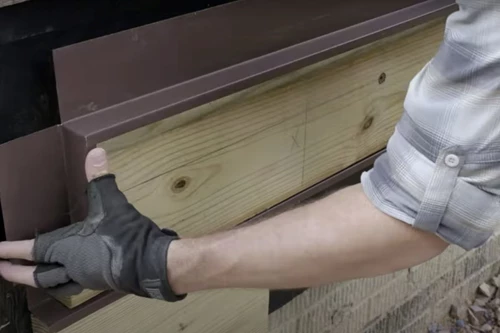
Flashing Above the ledger
The function of the flashing located above the ledger board is to prevent rainwater from getting behind the board by shedding it out onto the face of the board instead. This type of flashing (sometimes called drip cap or z-flashing) is usually made of metal but is also available in vinyl or other rigid plastic materials. Some deck builders choose to cover the top of a ledger board with a self-adhering membrane to prevent metal corrosion (more on this below) and prevent driving rain from being blasted under the flashing and behind the board.
However, it is not recommended that a membrane be used with no rigid protection above it because the process of installing the joist and decking could puncture holes in the membrane. Also, years of movement in the deck boards from expansion and contraction could also compromise the membrane’s integrity.
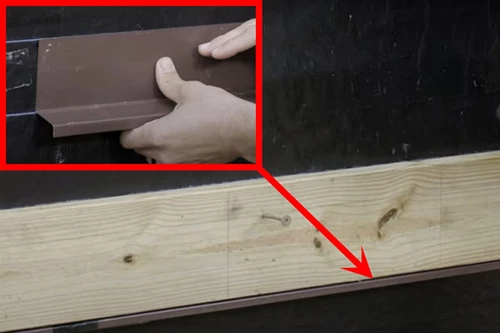
Flashing Below the ledger
The flashing located below the ledger board is designed to prevent the water that runs down the face of the board from getting behind the cladding below. This metal or plastic flashing should have a downward leg that prevents water, via surface tension, from clinging onto the bottom of the ledger board and traveling back towards the house. Some deck builders use the same type of flashing on both the top and bottom of ledger boards, while others might not use bottom flashing at all because it is not always mandatory. Even when flashing has been installed on the bottom of the ledger, it is still recommended to seal the connection where the cladding meets the flashing with an exterior grade caulk to prevent wind-driven rain from infiltrating that joint.
Water-Resistive Barrier
While considered part of the wall assembly, a Water-Resistive Barrier (WRB) is a crucial component of a ledger board flashing system. WRBs are designed to be a barrier that prevents any water that gets behind the cladding from finding its way to the sheathing or into the wall assembly. A home’s WRB will be lapped over the top of the flashing installed above the ledger board.
Types of Ledger Flashing Materials
There are several types of flashing that can be used to protect the ledger board/house connection. The considerations when choosing flashing materials include: cost, color, availability, its corrosive resistance, workability, and the location of a home. One important thing to keep in mind when choosing prefabricated lengths of rigid flashing is that while standard 2x lumber typically runs 1-1/2 in. thick., pressure-treated ledger boards are often thicker, so, look for flashing that has a horizontal leg that is 1-5/8 in. wide.
Plastic/Vinyl Flashing
PROS: Vinyl flashing is one of the least expensive options and is easy to cut and fasten in warm weather. It is compatible with the chemicals in treated lumber and should be readily available in prefabricated lengths.
CONS: This type of flashing will often have limited color options and can become brittle and crack when trying to cut or fasten it in cold temperatures. Vinyl roll flashing does not bend as sharply or hold its shape as well as metal roll flashing when creating custom shapes on a metal-bending brake.
Aluminum Flashing
PROS: Aluminum ledger flashing is relatively inexpensive, is easy to cut, has readily available prefabricated options, and has many colors to choose from when bending custom profiles from coil stock on a brake.
CONS: The biggest disadvantage to aluminum ledger flashing is that aluminum will prematurely corrode when in direct contact with chemically treated lumber. Some sort of barrier like flashing tape or felt paper should always be installed between aluminum flashing and treated lumber.
Galvanized Steel Flashing
PROS: Galvanized steel flashing is another inexpensive option. It is also available in prefabricated lengths at most lumber yards and home centers. Galvanized steel flashing designed specifically for ledger boards should be able to tolerate direct contact with treated lumber.
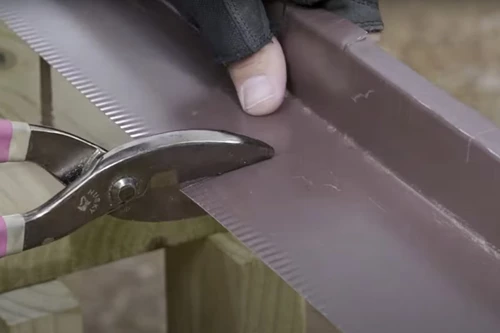
CONS: Galvanized steel flashing is harder to cut than aluminum or vinyl but still manageable with sharp metal cutting shears or snips. Steel coil stock has less color options than aluminum and will corrode more quickly when exposed to seawater and salty mist.
Stainless steel flashing
PROS: Stainless steel ledger flashing is one of the most durable and weather-resistant flashings available and can be used in direct contact with treated lumber. It is a great choice for decks that will be exposed to salty air from the ocean.
CONS: Stainless steel is one of the most expensive options and will be difficult to find in prefabricated lengths. Stainless coil can be hard to cut and bend on a brake, and color options are limited.
Copper Flashing
PROS: A high-quality copper ledger flashing will likely outlast the life of your deck. It can be used in direct contact with treated lumber and is one of the easiest materials to work with.
CONS: Copper is the most expensive choice, has limited color options, is rarely available in prefabricated lengths, and is susceptible to salt water and mist.
Flashing Membranes
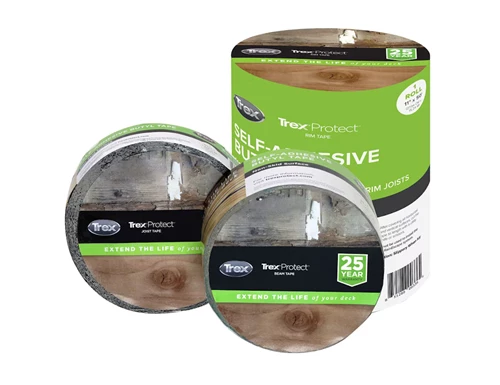
PROS: Self-adhering flashing membranes work great as back flashing because they can protect the wall from water infiltration by sealing ledger board fastener penetrations. Membranes/flashing tapes are also the best product to use to seal the top leg of rigid flashing to the sheathing. Self-adhering flashing membranes also work well when it is desirable to provide added protection between the ledger board and the top rigid flashing.
CONS: Self-adhering flashing membranes should not be used on top of the ledger board in place of a rigid z-flashing or drip cap because it could get damaged by the construction process or by deck board movement cause by expansion and contraction. Some flashing membranes can be hard to work with in excessively warm or very cold weather.
Joist Flashing
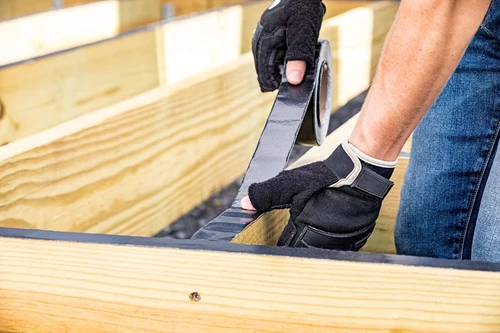
Joist flashing is available in liquid form that is applied with a roller or brush, but the most common type of joist flashing comes in the form of a roll-on self-adhering membrane. Joist tape helps protect wood joists from the damaging effects of standing water and water infiltration due to fastener penetrations. Standard flashing tape can be used but joist tape that is cut to fit the top of the joist will save on time and material. And to help hide the flashing, you’ll want to choose a tape that is black with no bright colored printing on the surface that will be visible between the deck boards.
Learn More about Designing and Building a Deck
Attaching the Ledger Board to the House Rim
Learn how to properly install a waterproof ledger board using flashing and fasteners. Check out our step-by-step video and detail drawings.
Checking House Framing
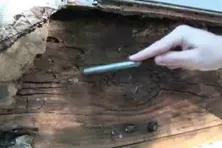
Make sure your house frame is solid and in good condition before installing a deck ledger board. We list some problem areas to look for before building.
Removing the Siding
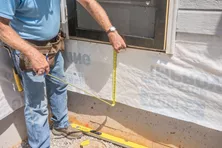
Learn the right way to remove vinyl siding for ledger board installation—without damaging your home’s exterior. Step-by-step guide with pro tips!
How to Sand a Wood Deck
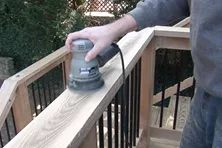
Sanding a deck is important to prevent any wood slivers and imperfections. Use these instructions to properly sand and refinish your deck.
How to Ink Stamps from Pressure Treated Lumber
Ink stamps seen on pressure treated wood represents where the lumber came from and its grade. Learn a few tricks to remove this ink from your wood at Decks.com.
More Helpful Resources
Explore Articles by Topic

Footings
Information related to installing frost footings for decks
Framing
Learn structural framing methods
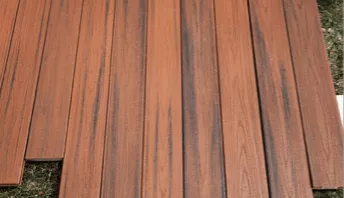
Decking
Learn about wood and composite decking materials
Stairs
An in-depth look at the complex issue of how to build stairs
Railings
How to install guardrails and handrails to meet IRC code

Features
An overview on water drainage, benches, planters and lights
Design
The basics of deck design
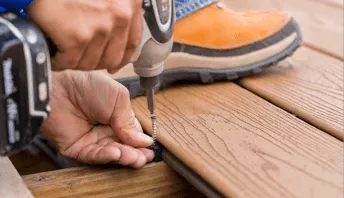
Planning
Learn about permits and working with contractors

Porches & Patios
Build a covered deck to enjoy all seasons
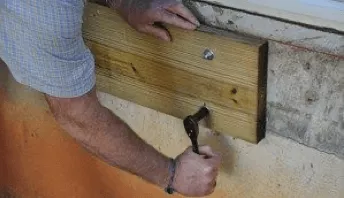
Ledger
Proper attachment techniques
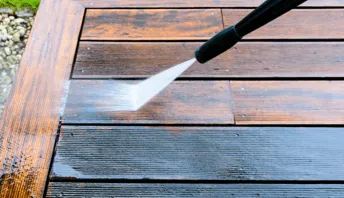
Care
Maintain your deck to maintain your investment
Materials
An overview on water drainage, benches, planters and lights
Attaching the ledger board to hollow block
Our inspector discusses how to attach a deck to a hollow concrete block foundation wall.
Installing A Ledger Board Around A Corner
Follow our tips to properly install a deck ledger board around the corner of a house to keep water out.
Attaching the Ledger Board to the House Rim
Learn how to properly install a waterproof ledger board using flashing and fasteners. Check out our step-by-step video and detail drawings.
How to Remove Scuffs and Scratches from Composite Decking
Removing scuffs and scratches can help make your composite deck look like new. Learn how to fix and prevent your composite deck from future scratches.
Deck Replacement & Repair Costs
Whether you’ve decided to tear down and rebuild your deck or if you’re only looking to repair smaller portions, you can find benchmark prices here.
How to Pressure Wash a Deck
Pressure washing your deck is the best way to keep your investment looking like new. Learn how to properly clean your wood deck with these tips from Decks.com.
Explore Articles by Topic

Footings
Information related to installing frost footings for decks

Framing
Learn structural framing methods

Decking
Learn about wood and composite decking materials

Stairs
An in-depth look at the complex issue of how to build stairs

Railings
How to install guardrails and handrails to meet IRC code

Features
An overview on water drainage, benches, planters and lights

Design
The basics of deck design

Planning
Learn about permits and working with contractors

Porches & Patios
Build a covered deck to enjoy all seasons

Ledger
Proper attachment techniques

Care
Maintain your deck to maintain your investment

Materials
An overview on water drainage, benches, planters and lights


