


Removing the Siding for the Ledger Board
How to Remove and Replace Vinyl Siding to Install a Ledger Board
So, you’re finally ready to build your dream deck. If you’re unsure how to remove the vinyl siding to properly install the ledger board, you’re in the right place. This article will walk you through removing that siding without damaging it, so you can reuse it later. A few of the steps below will also work on some steel and aluminum siding.
What You Need to Know Before You Begin
Whenever possible, pick a warm day to remove your siding. Some varieties of vinyl become brittle in cold weather. The warmer the day, the less likely you’ll crack your siding during removal.
To do this project, you’ll need to buy a new J-channel and possibly undersill trim. These vinyl siding trim components are used where the siding meets windows, doors and other obstructions like ledger boards. If you don’t know the manufacturer and color of your siding, that’s OK.
Most J-channel and undersill trim are made with similar dimensions. You just have to find a color that’s a close match with your siding. Luckily, slightly mismatched trim around the ledger won’t be very noticeable. Even if you find the exact product, it will likely still be a bit off, because your existing siding may have faded in the sun. Home centers, siding suppliers and lumberyards are the best places to look for J-channel and undersill trim. And even though you can remove vinyl siding by yourself, having a helper is always a good idea.
Tools and Materials You'll Need
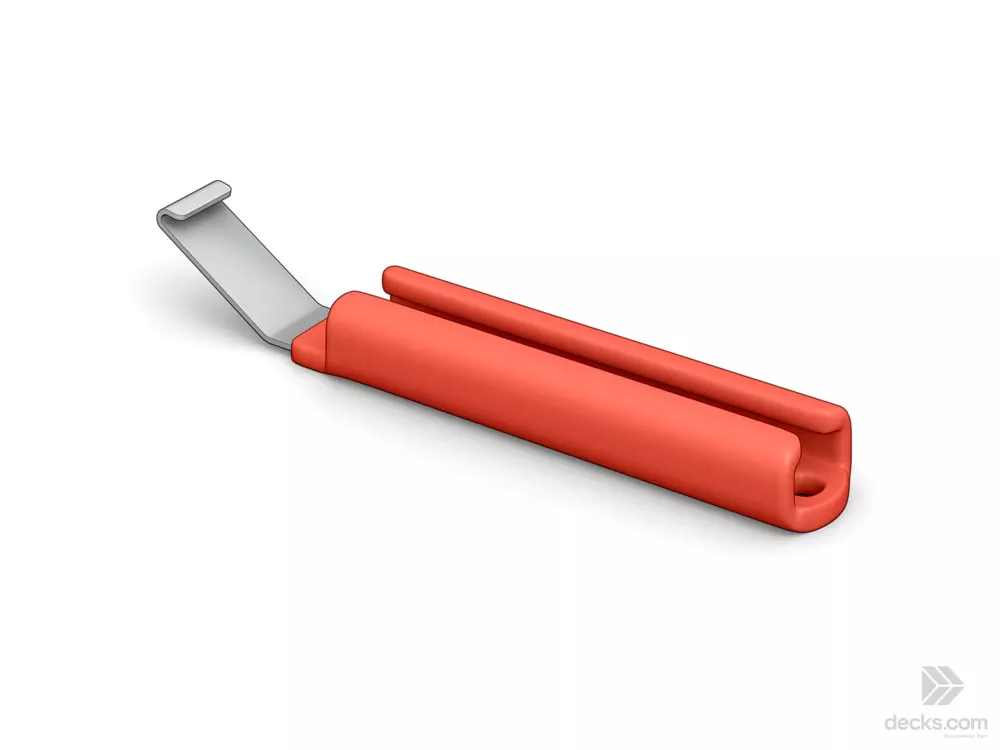
You can tackle most of this project with basic carpentry tools and standard siding nails. To make things easier, consider using a cat’s paw-style pry bar (also called a “cat’s claw”) for pulling nails. A siding removal tool, often referred to as a “zip tool,” is also essential. Malco Tools makes a reliable option called the SideSwiper, and it’s budget-friendly at under $15.
Here’s what else you’ll need: J-channel and undersill trim, 1-1/2 to 2-inch nails, color-matching caulk, Weather Resistant Barrier (WRB) seam tape, and materials for your ledger flashing. With these tools and supplies in hand, you’re all set to get started!
Step by Step
Removing vinyl siding might sound tricky, but with the right tools and techniques, it’s straightforward. In this step-by-step guide, we’ll show you how to properly detach and replace your siding and ensure a secure, weatherproof ledger board installation. Follow these steps, and you’ll be well on your way to building a sturdy, long-lasting deck.
Step 1: Determine the Type of Trim You’ll Need
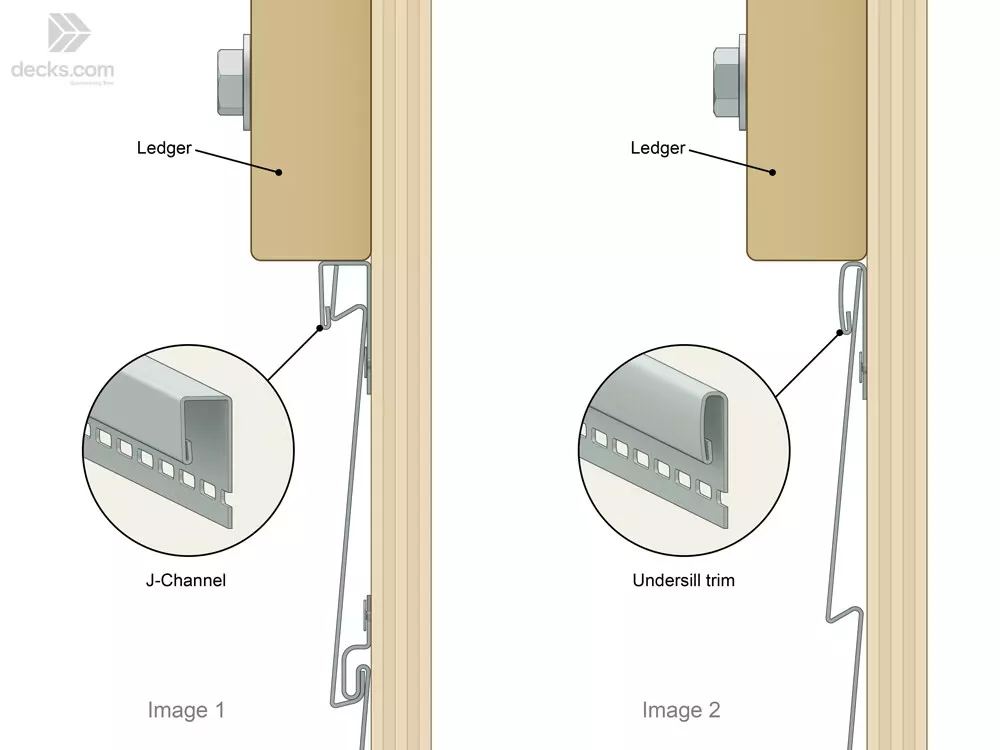
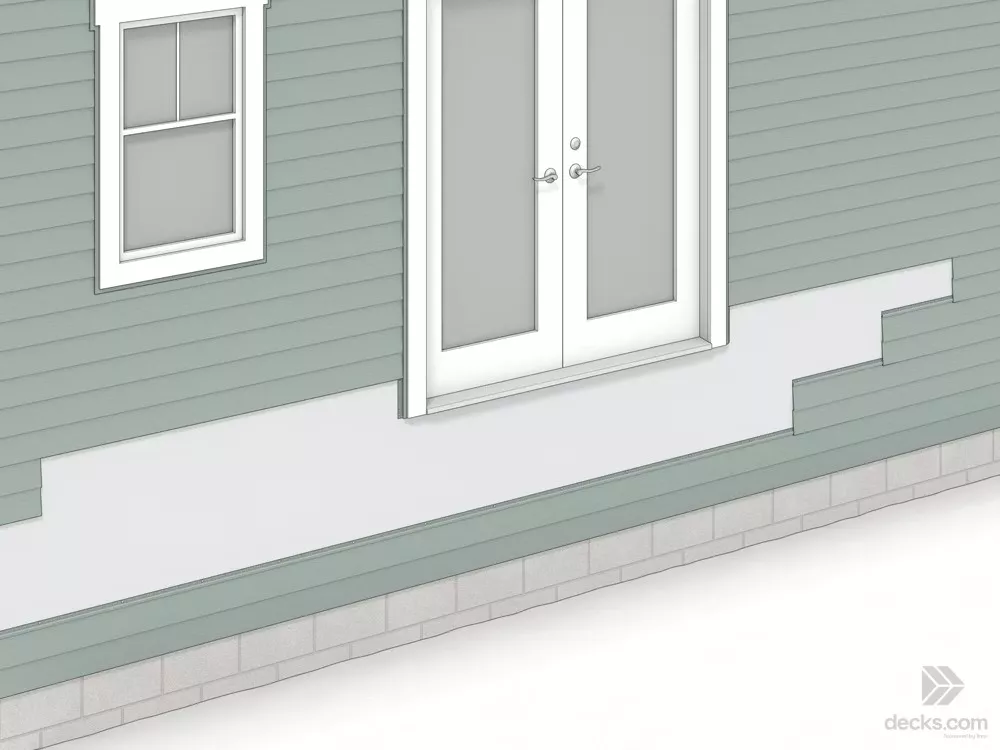
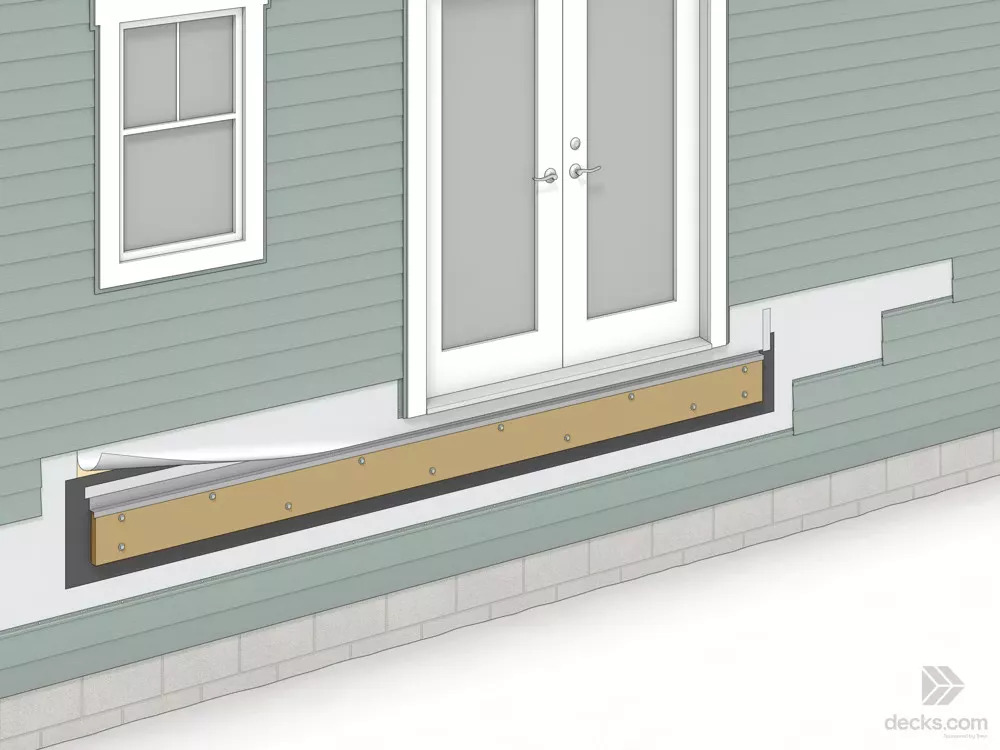
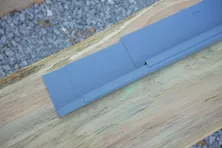
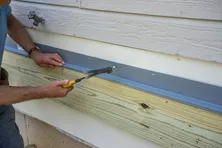
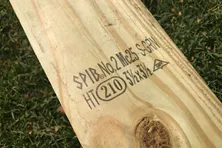
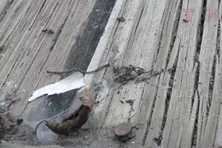
J-channel is used where the siding meets the ends of the ledger board, and on the sides of the kickplate you’ll install below the door sill. It may also be needed if the vinyl siding meets the bottom of the ledger, where the lap of the siding protrudes out from the wall (Image 1). If the siding meets the bottom of the ledger at a spot on the siding profile that sits flat against the wall, install an undersill trim instead (Image 2). Undersill trim can also be used above the ledger, but some choose to leave it off and have the decking butt right into the siding with no trim below it.
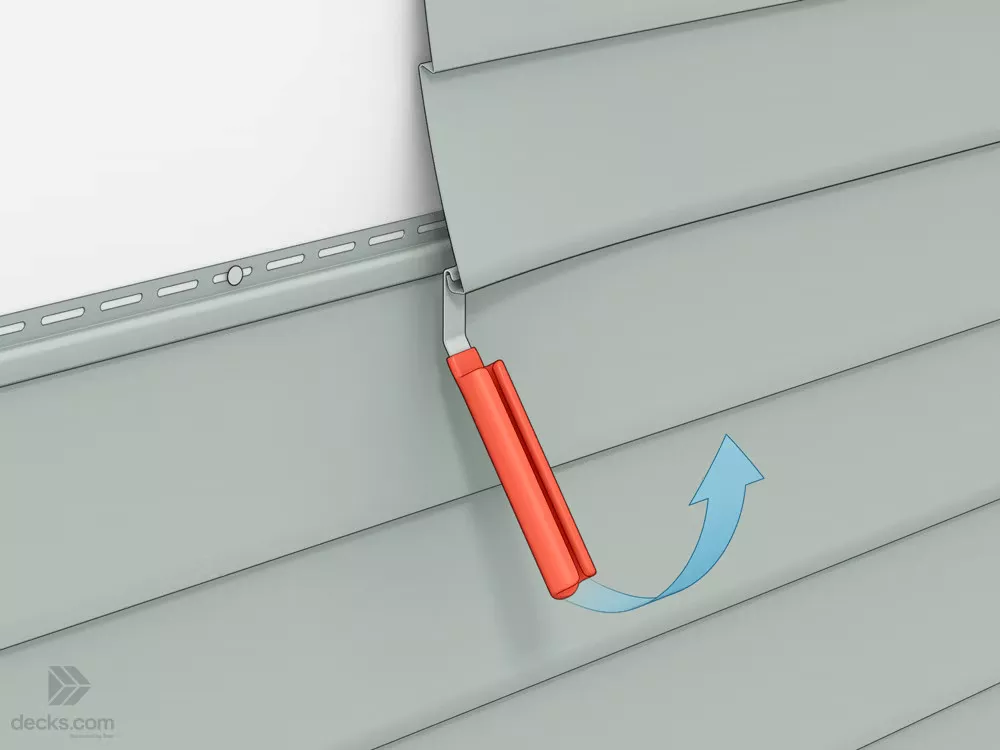
Step 2: Separate the Top Row
Wherever possible, start where the very end of the siding meets the corner, or even better, where two pieces of siding overlap. Shift the tool back and forth and try to hook onto the bottom lip of the top piece. Once you feel you have it hooked, carefully and firmly pull it down and out, separating the two pieces. Once you have one section separated, you can use the tool like a zipper (hence the nickname “zip tool”), working your way down the row of siding, pulling down on the tool with one hand and pulling out on the siding with your other.
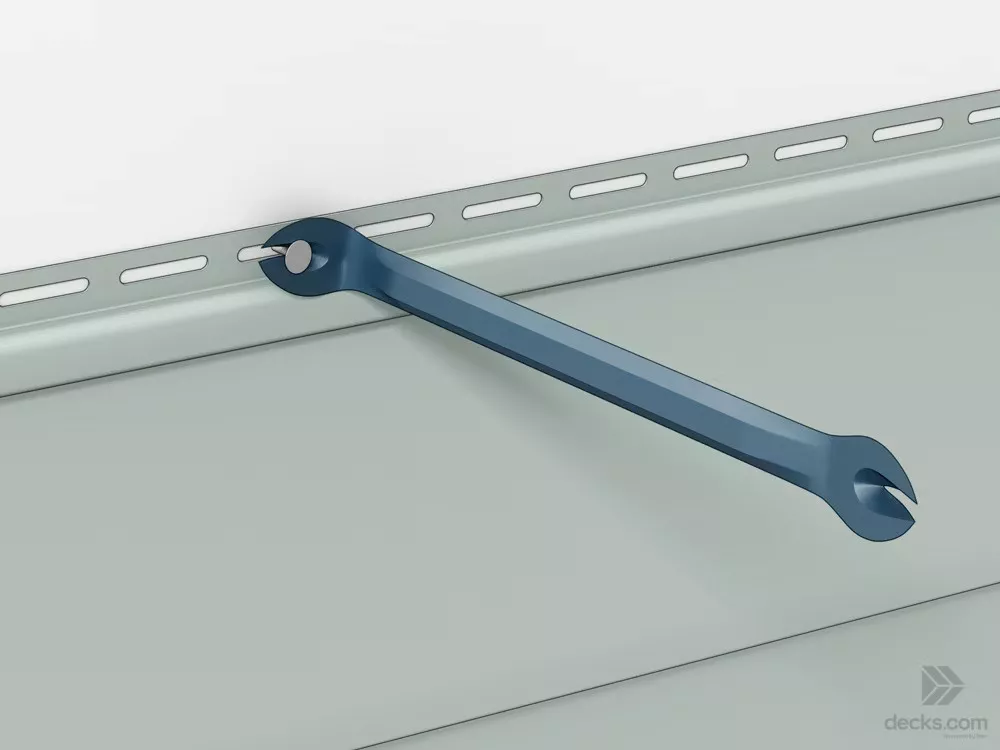
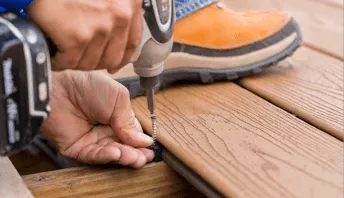
Step 3: Remove the Nails on the Top Row
Once the two rows of siding are completely separated, pull out the nails on the siding panels you want to remove. On the first row, it’s easiest to do this with a pry bar called a “cat’s paw” or “cat’s claw.” It helps to have your helper hold the top siding out while you pry the nails loose on the panel below.
Step 4: Remove the Rest of the Siding
To remove the rest of the siding, pull the nails from each panel and pull straight down on them. If they won’t separate from the piece below, you can try giving them a firm, downward slap. Use the zip tool to separate particularly stubborn panels.
Removing siding is easy when there are no other panels above. So, when you’re installing a ledger on a wall where the siding runs a long way past the ledger, you might want to remove a longer section of siding on the first row you remove; that way, you can stagger your way back. Stack the pieces as you pull them off, so you’ll know the order they return on the wall. Also, if the existing door has J-channel below, save a section to use on each side of the kick plate (more on this below).
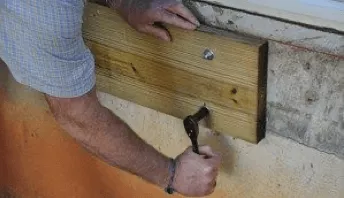
Step 5: Install the Ledger and Flashing
If your new deck won’t be sheltered by a large overhang or roof, it’s important to position the ledger correctly to protect your home and deck from water damage. To do this, install the ledger so the top of the deck boards sits at least a few inches below the door sill. Why? If the deck surface is level with the door, standing snow or splashing rain can expose the sill to excess water, increasing the risk of leaks, rot, and mold.
By lowering the ledger, you’ll create a safer buffer. However, this setup will require a narrow kick plate board to cover the gap beneath the door. A composite deck board or PVC trim board are both durable, weather-resistant options for this purpose.
Once you’ve installed the sub-ledger tape—sometimes called back flashing—and the ledger board, you’re ready to add the remaining flashing for extra water protection. These steps ensure a long-lasting, watertight connection. Need a visual guide? Check out this helpful video on how to install and flash a ledger board.
Step 6: Replace the Siding
If you’ve got nail holes or tears in the WRB, start by patching them with WRB seam tape. Then, follow the manufacturer’s instructions to install the undersill trim (or J-channel) below the ledger. You’ll also need to install J-channel along the sides of the ledger and kickplate. To fit the siding around the ledger, use tin snips or a utility knife to make the necessary cuts.
For the piece that fits under the ledger, you’ll need to remove the nailing flange. Since it won’t have nails to hold it in place, apply small dabs of exterior-grade caulking along the bottom lip to secure it. Avoid using silicone—it doesn’t adhere as well as polyurethane or hybrid caulking. For the rest of the siding, ensure the nails penetrate the studs and avoid reusing any existing nail holes. This will keep everything securely fastened.
Vinyl siding expands and contracts with temperature changes, so to prevent ripples (often called “oil-canning”), leave the nailheads slightly loose—about 1/8 to 1/4 inch from fully driven. Make sure there’s space on both sides of each nailing flange opening, so the panels can move slightly back and forth once installed.
When you’re ready to secure the final row of siding, have a helper hold up the siding above it to give you room to work. Once you’ve nailed everything into place, use a zip tool to reconnect any pieces you unzipped earlier in the process. With these steps, you’re on your way to a sturdy, well-finished siding job!
Specialized Tool & Material List
- Vinyl Siding Removal Tool
- Cat’s Paw Pry Bar
- J-Channel
- Undersill Trim
- Color Matching, Exterior Grade, Non-Silicone Caulk
- 1-1/2 to 2-in. Siding Nails
- WRB Seam Tape
- Ledger Flashing Supplies
Pro Tip: Save the Extra Siding
You should end up with a few leftover pieces of your existing siding. Hold on to them for future repairs. As with most building materials, vinyl siding fades after long exposure to the sun. If you replace a damaged vinyl panel with a new one, the difference in color will be noticeable. Using a piece of faded siding will result in a much less conspicuous repair.
Learn More About Building a Deck
Attaching the Ledger Board to the House Rim
Learn how to properly install a waterproof ledger board using flashing and fasteners. Check out our step-by-step video and detail drawings.
Flashing the Ledger Board
You should flash your ledger before you install your decking. Over time, the house frame behind the deck will rot if it gets wet.
Ledger Board Fasteners
Compare types of deck ledger board fasteners like lag bolts, through bolts & structural screws. Learn how to choose the right fastener for your ledger board.

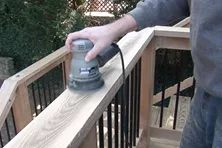
How to Sand a Wood Deck
Sanding a deck is important to prevent any wood slivers and imperfections. Use these instructions to properly sand and refinish your deck.
Deck Maintenance Checklist
Wondering how to best care for your deck? Download our comprehensive deck maintenance checklist to ensure your deck is safe and lasts for years at Decks.com.
More Helpful Resources


Explore Articles by Topic
Footings
Information related to installing frost footings for decks
Framing
Learn structural framing methods
Decking
Learn about wood and composite decking materials

Stairs
An in-depth look at the complex issue of how to build stairs
Railings
How to install guardrails and handrails to meet IRC code

Features
An overview on water drainage, benches, planters and lights
Design
The basics of deck design
Planning
Learn about permits and working with contractors

Porches & Patios
Build a covered deck to enjoy all seasons
Ledger
Proper attachment techniques
Care
Maintain your deck to maintain your investment
Materials
An overview on water drainage, benches, planters and lights
Attaching the ledger board to hollow block
Our inspector discusses how to attach a deck to a hollow concrete block foundation wall.
Ledger to engineered floor joists
Explore your options for building a deck onto a house with engineered floor joists.
Flashing the Ledger Board
You should flash your ledger before you install your decking. Over time, the house frame behind the deck will rot if it gets wet.
How to Remove Scuffs and Scratches from Composite Decking
Removing scuffs and scratches can help make your composite deck look like new. Learn how to fix and prevent your composite deck from future scratches.
How to Ink Stamps from Pressure Treated Lumber
Ink stamps seen on pressure treated wood represents where the lumber came from and its grade. Learn a few tricks to remove this ink from your wood at Decks.com.
What is Dry Rot and How Can You Prevent Your Deck From Rotting?
Dry rot is a serious problem for wood decks because it compromises its structural integrity. Learn the signs and causes for deck rotting, as well as how to prevent or fix it, at Decks.com.
Explore Articles by Topic
Footings
Information related to installing frost footings for decks
Framing
Learn structural framing methods
Decking
Learn about wood and composite decking materials
Stairs
An in-depth look at the complex issue of how to build stairs
Railings
How to install guardrails and handrails to meet IRC code
Features
An overview on water drainage, benches, planters and lights
Design
The basics of deck design
Planning
Learn about permits and working with contractors
Porches & Patios
Build a covered deck to enjoy all seasons
Ledger
Proper attachment techniques
Care
Maintain your deck to maintain your investment
Materials
An overview on water drainage, benches, planters and lights