How to Cut Deck Stair Stringers
Deck stair stringers are a crucial component of any deck staircase. They provide support for the whole structure, so cutting them correctly is essential for ensuring safety and stability. Whether you're planning on building new deck stairs or repairing an older staircase, read on to learn everything you need to know about preparing and cutting deck stair stringers.
If you’re looking for even more information on how to mark and cut stair stringers, you can also check out Trex Academy’s full step-by-step instructions on how to build deck stair stringers.
Tools & Materials Needed for Marking & Cutting Stair Stringers
- Bar Clamps
- Circular Saw
- Drill
- Framing Square
- Hammer
- Jig saw
- Stair Gague for Framing Square
Preparing the Deck Stair Stringers
Always use straight, high-quality, pressure-treated 2x12s for stringers. Additionally, if you’re planning on resting a stringer on the ground, make sure the wood has .60 RET level. You want the crown side of the board to be on the cut side.
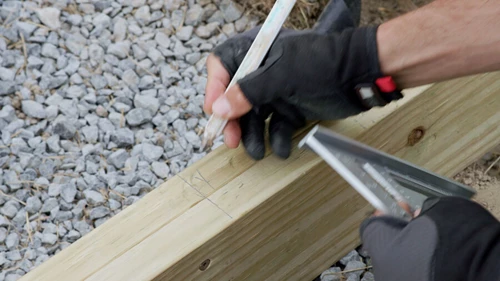
In order to prepare the stringers, you will want to lay out one of your 2x12s on saw horses and use a framing square and stair gauges to trace the outline of the stair using the information from our stairs calculator.
If you line up the riser height and tread depth on the framing square and align it to the stringer, you will be able to find the exact angle to cut your stairs. Repeat this process along the stringer.
Because the bottom step will be the ground, you’ll find your stringer is too short by the height of one tread. To account for this, after the stringers have been marked you must make an adjustment. Drop the stringer by cutting off the thickness of one tread to adjust for landing on the ground. Depending on how you are attaching the top step, you may need to make an additional adjustment to maintain a uniform stair design.
Here are easy tips before cutting your stair stringers:
To make sure you cut your stair stringers easily, accurately, and safely, you should:
- Always wear safety glasses when using power tools.
- Ensure the stair throat, which is the depth from the inside edge of a cut stair to the back (flat) edge of your stair stranger, is at least 5”
- Check stair stringer spacing requirements for your chosen decking boards
Laying the Stair Stringers
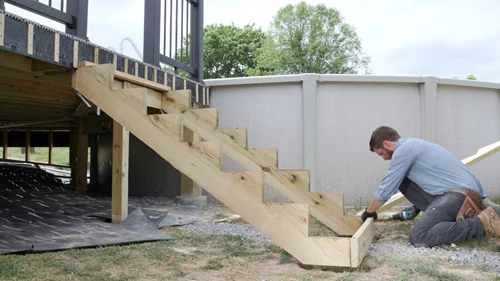
Follow these step-by-step instructions to determine the load requirements, calculate the rise and run measurements, and mark and prepare your stair stringers for installation.
Preparing to lay out your stair stringers
Understand load requirements for stair treads
- Stair treads endure more intense force due to people walking downstairs compared to a level surface on the deck.
- To accommodate this, never space stair stringers more than 16" on center.
- For any stairway wider than 36", install a minimum of four stringers.
- Check the maximum span specified by your decking material for stair treads.
- Max stair rise is 7’ ¾”
- Recommend no less than 6 stringers on a 48” composite deck
Consider specific material requirements
- Some composite materials and lower-grade 5/4 wood decking may require stringer spacing of 10" on center.
- Always read the installation instructions provided by the composite decking manufacturer for stair treads.
- It is advisable to overbuild your stairs to account for increased wear and tear.
Evaluate total rise for your stairs
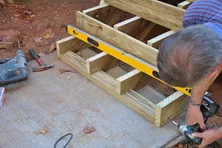
- Use a level and tape measure to determine the distance from the top of the deck surface to the top of the stair landing.
- Input the total rise measurement into the Decks.com Stairs Calculator.
- The calculator will provide the number of stairs, as well as the rise and run for laying out your stair stringers.
Mark rise and run measurements on the framing square
- Use the information obtained from the Decks.com Stairs Calculator.
- Use a framing square to mark the rise and run on your stair stringer.
Adjust the top run measurement
- If you plan on installing a 1" thick riser board, remove 1" from the back of the top run.
- This adjustment ensures proper alignment when installing the riser board.
Cutting the Stair Stringers
Despite the strength of the wood you have to use to make them, cutting stair stringers can be a delicate job. Once you’re done laying out and measuring it’s time to begin cutting. The first stringer will be the most difficult, and you can use that as a template for however many more you need to complete the backbone of your staircase.
Cut the Stringers
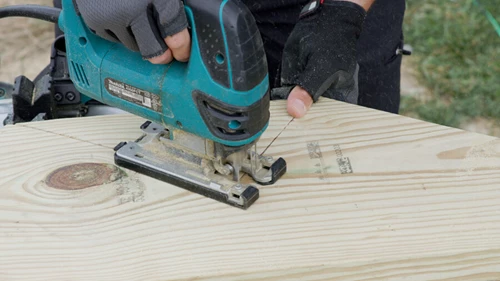
Use a circular saw to perform cuts according to your marked measurements. Be careful not to over-cut your guidelines. This will not only look bad but will also weaken the stringer. Rather than trying to cut too close, use a jigsaw or handsaw to finish the cut cleanly. Once one stringer has been completed and tested for accuracy, you can simply use it as a template to produce the others.
Cut the Top & Bottom Sections
Use a circular saw to cut out the top and bottom sections of the stair stringer and each step.
Complete the Stair Stringer Cut
Use a jigsaw or handsaw to complete the cut. Follow the layout lines and do not overcut.
Repeat the Cut
Use your first stair stringer as a template to trace your remaining stringers.
Learn More About Stair Stringers
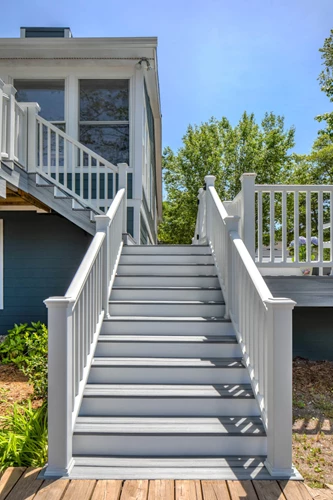
If you’re building a staircase up to a new deck or replacing an old staircase that’s seen better days, you probably want all the information you can get on stair stringers. After all, they ensure the ongoing safety and stability of your deck stairs! The importance of this element of a staircase is probably why we have so many informative articles on the topic. Read more about stair stringers in the following:
How to Build Box Steps for Your Deck
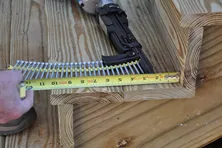
Learn how to build a set of box platforms to act as stairs for a low deck. You don't need to cut stair stringers.
Building an ADA Deck Ramp
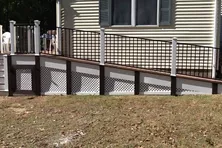
Learn how to build an ADA-accessible wheelchair ramp onto your deck to meet building codes. Ramps must have a 1:12 slope.
Glass Deck Railing Ideas and DIY Installation Tips
All glass panels used for deck railings must be safety-tempered and shatter-resistant. Learn how to install glass railing panels and get ideas for your deck.
How to Install Composite Deck & Porch Railings
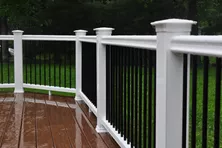
Composite deck and porch railings offer a low-maintenance option for railings. Learn how to install composite railing and get ideas for your deck at Decks.com.
Best Aluminum Deck Railings: Reviews & Benefits
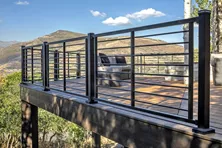
Aluminum deck railings are a great low maintenance option for any home. Compare different materials and find the best aluminum deck railing system for you.
More Helpful Resources
Explore Articles by Topic
Footings
Information related to installing frost footings for decks
Framing
Learn structural framing methods
Decking
Learn about wood and composite decking materials
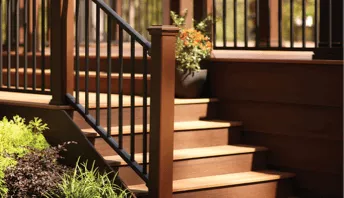
Stairs
An in-depth look at the complex issue of how to build stairs
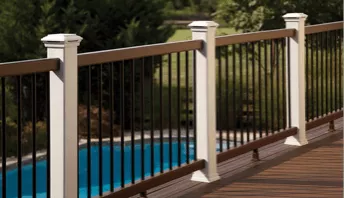
Railings
How to install guardrails and handrails to meet IRC code

Features
An overview on water drainage, benches, planters and lights
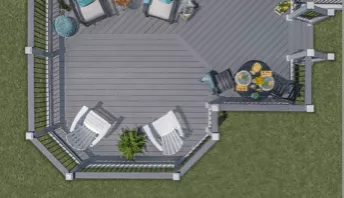
Design
The basics of deck design
Planning
Learn about permits and working with contractors

Porches & Patios
Build a covered deck to enjoy all seasons
Ledger
Proper attachment techniques
Care
Maintain your deck to maintain your investment
Materials
An overview on water drainage, benches, planters and lights
Closed Stair Risers
Learn about the benefits of installing riser boards on your deck stairs.
Stair Stringer Length
Learn how to measure the height of your deck and use our Decks.com Stairs Calculator to determine your stair stringer lengths.
Anchoring Deck Stairs
Learn how to anchor your deck stairs to a concrete landing pad or footings. Follow our step-by-step instructions with photos.
Reddit Railing Questions Answered
Deck railing is an essential component of any deck, providing both safety and style. However, with so many materials, designs, and installation factors to consider, questions often arise.
Low-Maintenance Composite Deck Railing Options
Composite railing systems offer a low-maintenance alternative to traditional wood railings. Learn why composite is the best railing system at Decks.com.
Installing Deck Stair Railings
Step-by-step instructions for how to install deck stair railings. Learn about the code requirements and construction tips with images.
Explore Articles by Topic

Footings
Information related to installing frost footings for decks

Framing
Learn structural framing methods

Decking
Learn about wood and composite decking materials

Stairs
An in-depth look at the complex issue of how to build stairs

Railings
How to install guardrails and handrails to meet IRC code

Features
An overview on water drainage, benches, planters and lights

Design
The basics of deck design

Planning
Learn about permits and working with contractors

Porches & Patios
Build a covered deck to enjoy all seasons

Ledger
Proper attachment techniques

Care
Maintain your deck to maintain your investment

Materials
An overview on water drainage, benches, planters and lights


