
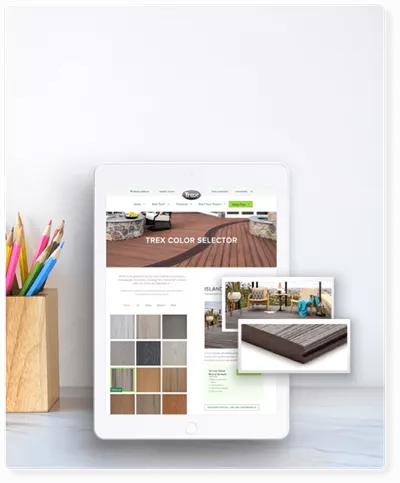

Composite Fencing: Reviews & DIY Installation Overview

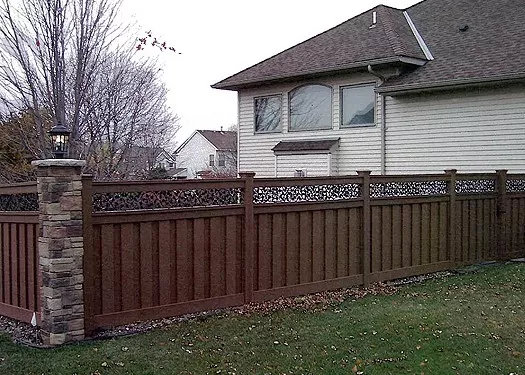
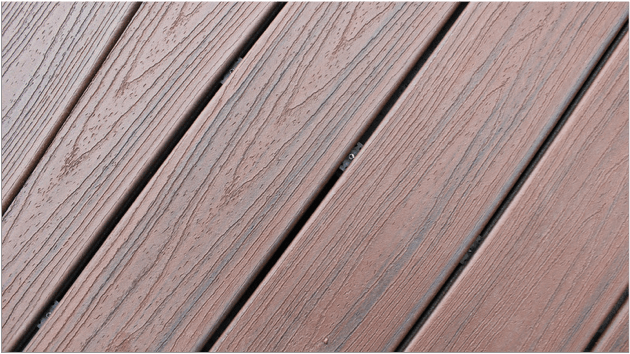
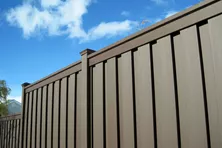
Due to its longevity, low-maintenance and resistance to rot and mold, composite fencing has become one of the most popular materials for building a fence. Composite fencing offers the look of wood, minus the drawbacks. Composite fencing can last up to 20 years or more, making it more durable than most traditional wooden fences.
So, what makes composite fencing last so long? Composite fencing is made from a blend of recycled plastics and wood pulp. Using recycled materials makes composite fencing easier on the environment than virgin plastic.
Composite Fencing Reviews: What is the Best Fence Material?
Whether you intend a new fence to serve as a privacy barrier that shields your backyard from the neighbors, or you’d prefer a purely decorative picket fence for your front yard, composite fencing can meet your needs.
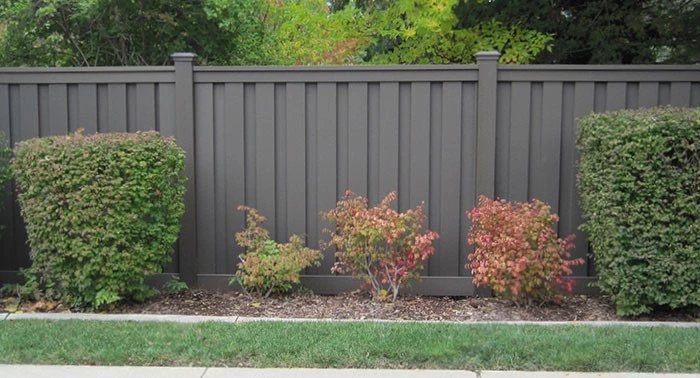
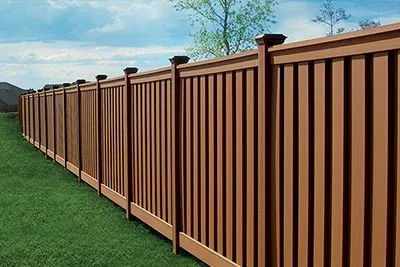
Unlike wood, composite fencing panels won’t warp or rot. In terms of style, composite fencing offers homeowners a variety of options, including fencing that mimics the look of rich wood, wrought iron, or striking solids in classic and contemporary shades. For example, Trex composite fencing is made from recycled plastics, is easy-to-clean and is backed by a 25-Year Limited Residential Warranty.
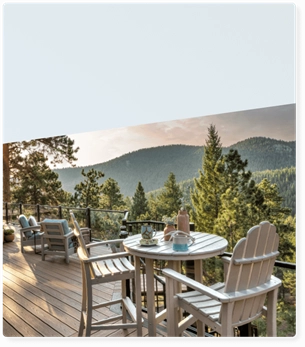
Installing a fence can increase your home’s resale value, if and when you choose to sell. Not only does it add privacy, but it also adds curb appeal. Even if you don’t plan to sell your home in the near future, composite fencing creates a more attractive outdoor living environment for years to come.
Composite vs Wood vs Vinyl Fence: What’s the Difference?
When choosing between a composite vs wood fence or vinyl, consider the differences in cost, maintenance, durability and appearance. It’s worth weighing the pros and cons of each material before you install a fence.
Before you purchase materials, however, we recommend checking with your local city, town, or township building codes to find out if you require a permit to build a fence. Similarly, if you live in a housing development, check with your homeowner’s association (HOA) to find out if there are any restrictions on the type of fencing materials you can use. For example, some HOA charters may not allow vinyl fencing and there may be height restrictions that can affect your privacy fencing.
Once you have the proper information and (if applicable) permits, you’ll be able to explore which materials work best for your needs.
Composite Fencing
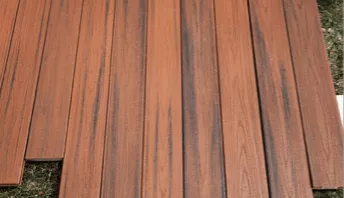
Composite fencing is made from a blend of materials that, when fused together in the manufacturing process, produce a material stronger than their components. Composite fencing is usually made from recycled plastics, such as milk cartons and grocery bags, blended with a mixture of sawdust and/or wood pulp. These materials may then be mixed with resins and pressed into molds to create the final product.
Composite fencing can cost between $25 to $45 per linear foot. However, once installed, composite fencing requires little to no maintenance and offers the look of wood without the meticulous upkeep.
Wood Fencing
Wood fencing is cheaper than composite fencing or vinyl but requires significantly more upkeep. The type of wood you choose impacts your costs greatly as costs can range between $10 to $20 per linear foot. For instance, a more common wood like pressure-treated pine can put you on the less expensive end of the spectrum, while more exotic tropical hardwoods are pricier.
While their initial cost may be cheaper, the amount of time spent on maintaining the beauty of natural wood fencing can be a drawback. Fluctuating temperatures between winter and summer can cause the wood to expand and contract, which can crack or splinter the wood. These fractures can compromise the structural integrity of your wood, as well as lead to the growth of mold and rot. Wood fencing also needs to be treated, re-stained, and / or repainted every few years to look its best.
Vinyl Fencing
Vinyl fencing is easy to install for both professionals and DIYers because it typically has notches that fit together without nails or screws. Vinyl fencing costs between $20 to $25 per linear foot, making it a mid-priced option between wood and composite fencing. While vinyl fencing is easy to clean, it’s prone to mildew and fading.
Another drawback of vinyl fencing is that if a portion is damaged, you’ll need to replace an entire panel as opposed to one or two slats.
How to Install a Composite Fence: Step-by-Step Overview for DIYers
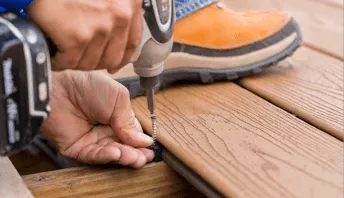
Installing a composite fence is an advanced project that will take multiple days and requires help from at least one other person to maneuver posts, panels, and pour concrete. However, you can buy composite fencing panels that can easily attach to fence posts, making it a far easier project than installing a traditional wooden fence.
Follow these step-by-step directions for installing your DIY composite fence, but always check with your manufacturer for more detailed instructions if needed.
Map the Fence Line
How much composite fencing will you need? Once you’ve measured your yard to determine the length of your fence length, use that figure to help you determine how many fence posts and fence panels you will need. For example, if your composite fencing panels are four feet long, then you’ll need fence posts every four feet for stability. Planning your fence before purchasing materials and digging can help you minimize costs and avoid purchasing excess material. You can also use a composite fencing estimator to help you more accurately calculate the right amount of materials for your project.
Draw your fence on paper, then use stakes and a can of spray paint to mark where the post holes will go.
Digging Post Holes
Once you’ve mapped your fence line, you’ll be able to determine where you will need to dig post holes. The standard is to dig post holes at least 1/3 of the fence height for stability.
Before you start digging, decide where you will mount your composite fence, which will determine the location of your first fence post. If you’re building a fence for your backyard, it’s common to mount it to your home or other stable structure for stability.
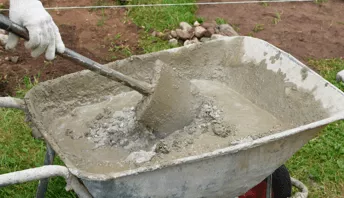
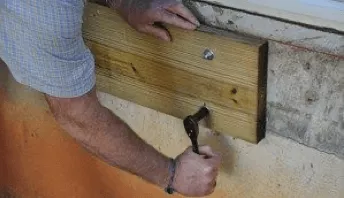
Once you've dug holes, pour cement to create footers. Before pouring, use your digging tool to create a curved channel. Then, pour the cement and station your post. This helps prevent water from entering the post and helps the post adhere to the cement.
Install Composite Fencing Panels
It will take a day or two for the cement to cure. Once cured, identify the desired height for your panels and use that as a gauge as to where to connect them. Before installing your panels, please keep ground height in mind. Your new composite fence should be close enough to the ground to keep pets inside and to keep other critters from being able to burrow their way into your yard from the other side of the fence.
Run a String Line and Set the Corners
To keep your new fence straight and level, run a string line from corner to corner. This will be your guide for installing the fence panels. Corner bracing can also provide added stability. If you use corner bracing, you’ll need one diagonal brace for each side of your fence.
Hang Your Gate
If your design includes installing a fence gate, you’ll need heavy-duty screws and a level to install your gate and make sure it’s straight. (Make sure your gate has proper clearance to swing inward or outward!) Once installed, open and close your gate a few times to be sure it’s fully functional.
Building a DIY composite fence is a rewarding task that can increase your property value and add to the beauty (and privacy) of your home’s backyard.

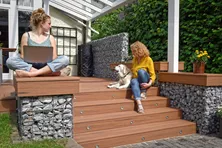
Deck Skirting
Skirting can be an attractive feature that can be added to any low-level deck.
Eco-Friendly Backyard: Tips and Ideas to Green Up Your Space
Living a more sustainable lifestyle can start with a few simple changes in your backyard. Learn how to create a more sustainable backyard with Decks.com.
How to Install a Shade Sail
Shade sails are a stylish way to keep your deck cool and shady. Learn how to install a shade sail in your backyard.

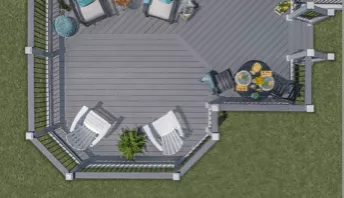
Decking Patterns
Step into the world of deck design and push the limits of your imagination with our collection of deck patterns and ideas. From classic single-width and diagonal layouts to intricate herringbone and chevron designs, we illustrate the wide range of patterns that will unlock your creativity.
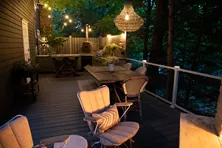
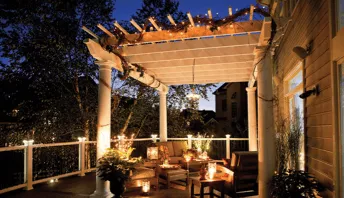
Hanging String Lights
Hanging string lights on a deck is a great way to enjoy summer nights. Learn how easy it is to hang any type of string lights on a deck with Decks.com.

Beautiful Backyard Outdoor Shower Ideas
Transform your outdoor space into a serene retreat with our guide to inspiring outdoor shower ideas and designs. Discover the versatility of portable, stand-alone, and stationary showers, and explore creative styling tips using materials like stucco, concrete, and natural elements. Weigh the pros and cons of outdoor showers and learn when it's best to consult a professional for installation.
More Helpful Resources
Explore Articles by Topic
Footings
Information related to installing frost footings for decks
Framing
Learn structural framing methods
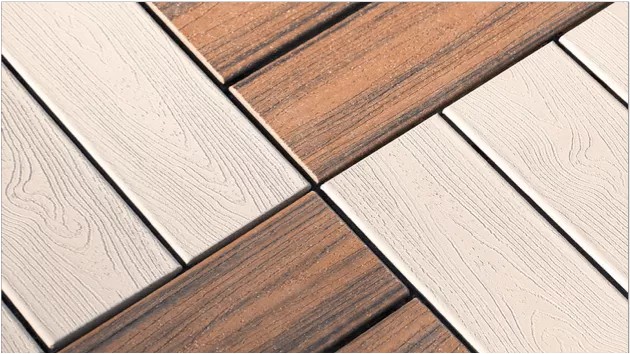
Decking
Learn about wood and composite decking materials
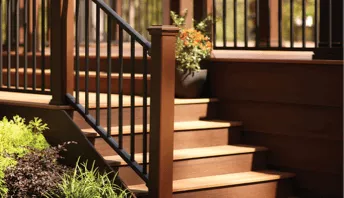
Stairs
An in-depth look at the complex issue of how to build stairs
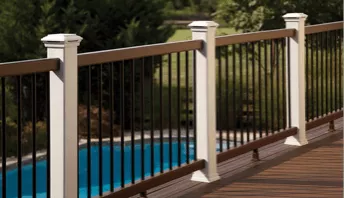
Railings
How to install guardrails and handrails to meet IRC code
Features
An overview on water drainage, benches, planters and lights
Design
The basics of deck design
Planning
Learn about permits and working with contractors
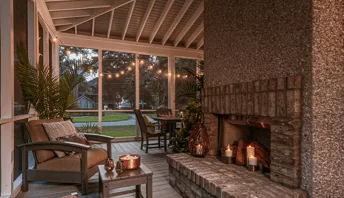
Porches & Patios
Build a covered deck to enjoy all seasons
Ledger
Proper attachment techniques
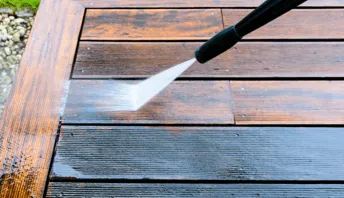
Care
Maintain your deck to maintain your investment
Materials
An overview on water drainage, benches, planters and lights

5 Best Ways on How to Hide Trash Cans Outside
Outdoor trash cans can be an unwanted eyesore. Discover how you can easily cover them up and add an extra touch of beauty to your yard.
Deck Stain Color Ideas & Inspiration
Choosing a stain color for your deck can feel overwhelming. Get inspired with deck stain color ideas and options.
How to Install a Shade Sail
Shade sails are a stylish way to keep your deck cool and shady. Learn how to install a shade sail in your backyard.

Pool Deck Ideas on a Budget
A stylish poolside retreat doesn't have to come with an over-the-top price tag. Allow us to show you some easy and innovative ways to build a stunning pool deck that won't empty your wallet.
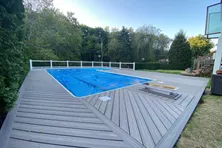
From Swim to Sun: 5 Tips for Building a Deck Around Your In-Ground Pool
The pool-deck combo is the perfect outdoor layout for a relaxing, warm-weather hang. Check out these tips on how to design your space.
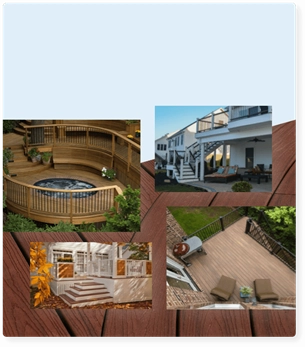
10 Fence Ideas to Add Privacy and Style to Your Yard
10 Fence Ideas to Add Privacy and Style to Your Yard
Explore Articles by Topic
Footings
Information related to installing frost footings for decks
Framing
Learn structural framing methods
Decking
Learn about wood and composite decking materials
Stairs
An in-depth look at the complex issue of how to build stairs
Railings
How to install guardrails and handrails to meet IRC code
Features
An overview on water drainage, benches, planters and lights
Design
The basics of deck design
Planning
Learn about permits and working with contractors
Porches & Patios
Build a covered deck to enjoy all seasons
Ledger
Proper attachment techniques
Care
Maintain your deck to maintain your investment
Materials
An overview on water drainage, benches, planters and lights