How to Install Composite Decking for the Perfect, Long-Lasting Outdoor Space
Composite decks offer a stylish and low-maintenance way to upgrade your outdoor spaces and enjoy your home. Knowing how to install composite decking puts the beauty of your backyard firmly in your hands.
Whether you’re a handy DIYer or in the market for a contractor, having a plan and design for your deck is essential. Let’s walk through the key considerations and building process to get your deck in place, regardless of how hands-on you plan to be.
What to Consider Before You Build a Composite Deck
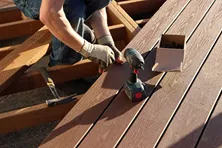
To build a composite deck, start by setting a substructure of pressure-treated wood in place before installing the composite decking itself. The key steps for decking installation are:
- Gather all tools and materials needed
- Position the deck boards
- Fasten the deck boards
- Install breaker boards
Before diving into how to install composite decking, though, there are a few essential elements every builder or contractor should consider that will contribute to the overall design — including layout, materials, and deck maintenance over time. Read on to learn more.
Build your substructure
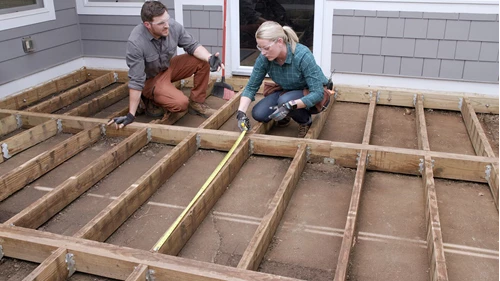
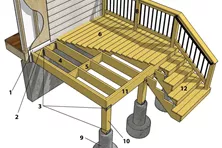
The substructure of your composite deck will support the full installation. Make sure to properly establish your substructure and frame first before continuing with the deck-building process.
It's important to already have your deck design and your specific decking material chosen before you begin building your substructure. There are different installation methods for the decking boards based on the design.
Separate substructure rules apply if you’re building over a concrete step or patio. In these instances, you’ll need to ensure drainage and airflow beneath the deck to maintain safety and durability — keeping in mind your final deck height regardless of your baseline material. For more framing instructions, check out Trex Academy to get step-by-step details.
Control your deck seams
Deck seams can make your deck look uneven or improperly installed. These occur as a result of applying your deck boards onto your substructure, which — without proper planning — can create gaps or awkward angles in your design.
Using butt joints, applying decking diagonally, or using alternate techniques like breaker boards can help control deck seams and keep them uniform with your original design.
Consider temperature fluctuations
Different temperatures and environments can influence the style and needs of your deck construction process. In hotter environments, wood will expand, causing warping or even swelling that will affect the structure of your deck. Similarly, cold environments could cause wood to contract and even crack.
Composite decking uses a blend of recycled plastic and wood fibers to create a weather-enduring material that requires less maintenance down the line thanks to wood fibers that are strengthened for temperature.
How to Install Composite Decking
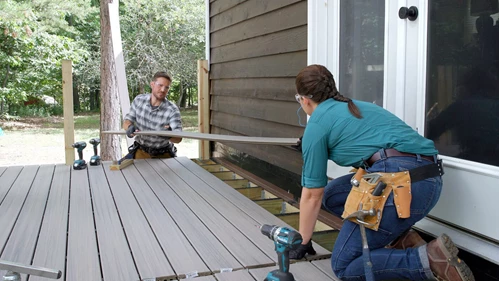
Once you’ve laid out the essentials of your design and substructure — either as a DIY builder or in tandem with a contractor — it’s time to get started. Here’s how to install composite decking in your own backyard.
Pro tip: As you go through these key steps, feel free to reference this Trex decking installation guide for a wide range of installation tips and instructions once you’ve laid the substructure.
Phase 1: Gather tools and materials
Don’t go into the deck-building process without making sure you’ve checked off everything you’ll need from your list. Here are the essential materials and tools to gather for installing composite decking:
Tools & Materials Checklist
Refer to your manufacturer for overhanging guidelines.
- Bar clamps
- Chalk line
- Circular saw
- Drill
- Drill bits and tips
- Trex® One-Step Hideaway Hidden Fastener Tool
- Jigsaw
- Tape measure
- Rubber mallet
- Sawhorse
- Speed square
- Miter saw
- Pencil
- Composite deck fasteners
- Composite decking
Phase 2: Position the deck board
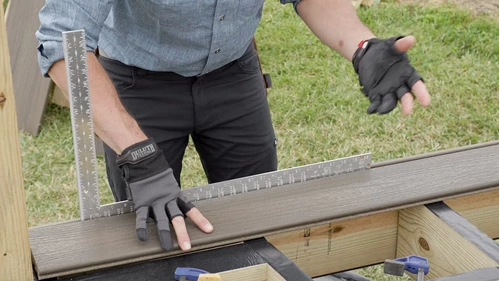
In this first phase, builders must be precise during placement and installation to make sure the rest of the construction goes smoothly. Consider the positioning and straightness of the boards, as well as whether the design and color variation applied works for you.
Here's how to position your first deck board to begin your full installation:
- Determine your fascia installation- if you are installing the fascia under the decking and not flush with the top of the decking, your deck board should hang over the fascia by about 3/4" — but refer to your manufacturer for overhanging guidelines.
- Place the first board on the deck in line with its positioning side to side.
- Mark the post locations onto the board by using a speed square and pencil.
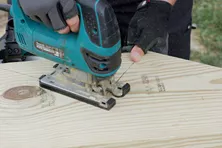
- Cut the notch out with a jigsaw and place the board onto the frame of the deck.
Refer to your manufacturer for overhanging guidelines.
Phase 3: Fasten your first deck board
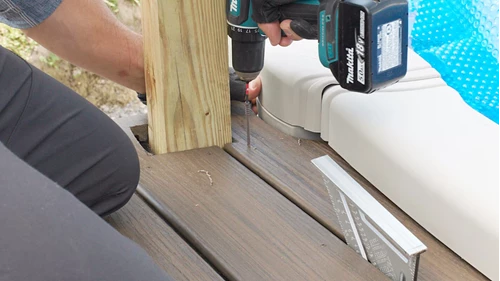
Now that your boards are in place, it's time to fasten your first board down. Be sure when doing so that you use approved, color-matched, composite deck screws to ensure the best design and structural soundness possible.
- Pre-drill your deck boards as necessary:
- Decks.com recommends fastening at 1" from the edge of the board.
- Using your speed square for location, use a 1/8" wood drill bit to drill each fastener hole.
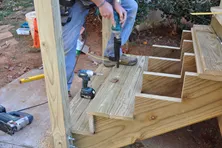
- Fasten your deck boards to the frame with composite deck screws or plugs to install the board.
- If you're using composite screws make sure to install flush with the top of the deck board.
- Fasten the deck board to the frame.
Phase 4: Install universal fasteners
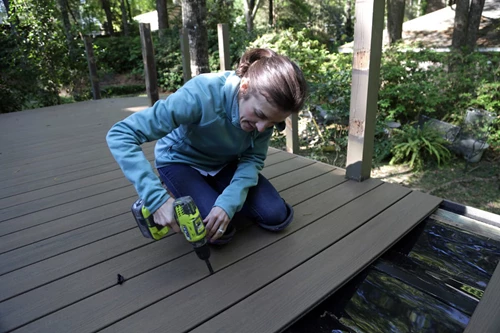
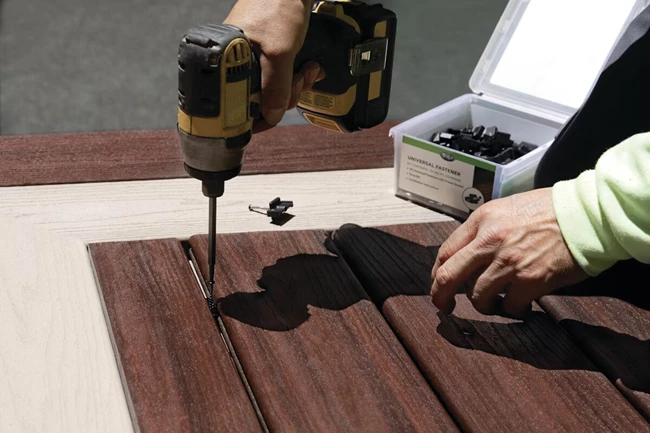
With your first board in place, the next phase requires installing universal fasteners to make subsequent installation easier. Though screws are also an option, these universal fasteners ensure a cleaner look and correct gapping.
These will be placed accordingly for each joist. Here's what to do for this phase:
- Cut a 1 1/2" wide piece of your decking board.
- Place a clip into the groove of your deck board piece, using it as a wedge to hold the clip in place for installation.
- Using a drill, install your universal fastener while holding the block tight to the clip to keep it in the precise placement. Once you've installed your fasteners for the full length of each board, slide the next board in place and then go back and tighten all of the fasteners in place.NOTE: You can expedite steps 1 through 3 using the Trex® Universal Fastener Installation tool, making the placement and holding of the clips and fasteners much easier.
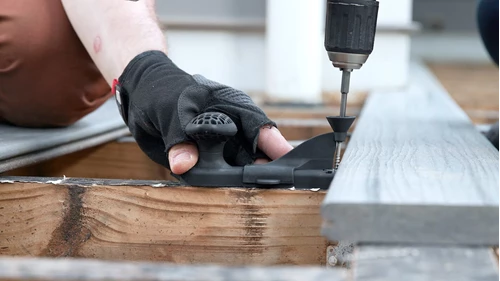
When installing your final deck board against your house, be sure to properly angle it between the house and the hidden fasteners.
- Inspect your final board placements.
- Use a pry bar to tighten deck boards against their clips, being sure not to over-tighten.
- Install surface fasteners (screws or plugs) against the house in the same way you did with the first deck board.
- Repeat this process at each joist.
With your fasteners in place, your deck is almost complete — it just needs a few final touches to ensure the full design and safety of your construction is set for an audience.
Phase 5: Install breaker boards
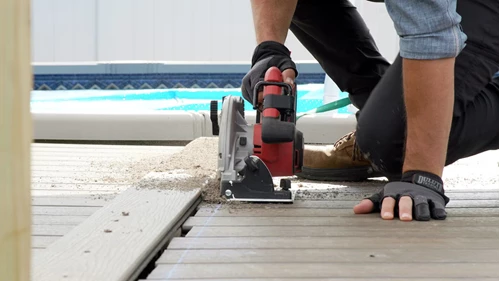
To provide a sound structure to your deck layout, your breaker boards — true to their name — break up the deck with perpendicular or diagonal boards (depending on the layout of your construction) to create individual, smaller sections of your deck. This is helpful for larger decks with multiple "zones" but is primarily needed for any deck wider than an individual board. Here's how to complete this final piece:
- Cut your deck boards to the precise length to allow the gap for breaker board installation.
- Cut your deck boards to allow for the breaker board gap that goes against your house.
- In both instances, ensure you leave the boards long with some overhang — that way, the lining can be cut uniformly for the breaker board to be installed.
- Snap a chalk line using the boards cut to the lengths in steps 1 and 2, as well as one on the other side of the breaker board.
- Using your circular saw, cut your boards along the chalk line for where the breaker board will go.
- Be sure to set the saw to the precise depth so as not to cut the deck frame joist underneath.
- Position the breaker boards in the gaps you've cut.
- Install fasteners into your breaker board:
- Fasteners should be 1" from the edge of the board, every 16" along the board.
- If using screws instead of plugs, ensure fasteners are flush with the breaker boards and the corresponding color.
Once you've finalized your breaker boards, you'll have your finished composite decking design in place. Take a final review of the structure and make sure all fasteners are properly installed, flush with the boards, and the whole deck is stable.
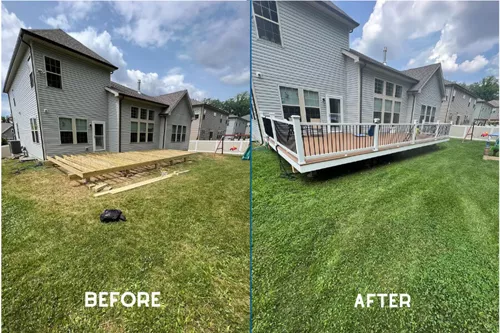
Though this guide covers the high-level steps of how to install composite decking, there are always more tips and tricks to uncover — whether you’re a DIY builder or looking for the perfect construction partner for your outdoor space. Check out Trex Academy to learn how to build your deck step-by-step, or start your contractor search by finding a builder near you.
Still, looking for a little guidance before you start constructing your own composite deck? Check out these other handy resources to make sure you’re covering all your bases — before installing those deck boards.
How to Install Decking Over Existing Concrete Slab, Patio, or Porch
Discover the best techniques to build a deck over concrete, ensuring proper drainage and stability, while creating a beautiful outdoor space.
Tile decking
Installing tile over a standard deck frame in an exterior environment is a recipe for trouble.
What to Consider When Building A Wrap-Around Deck
Looking to add a wrap-around deck to your home but unsure of what the process involves? Check out this guide to learn more about top considerations when building a wrap-around deck.
How to Build Box Steps for Your Deck
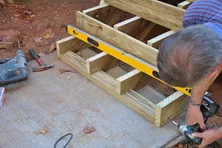
Learn how to build a set of box platforms to act as stairs for a low deck. You don't need to cut stair stringers.
Planning to Land Stairs on a Future Patio
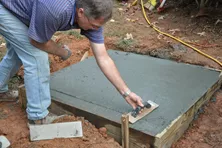
Learn how to determine the location of your stair landing and how to install a concrete slab using forms. Follow these step-by-step DIY instructions.
More Helpful Resources
Explore Articles by Topic
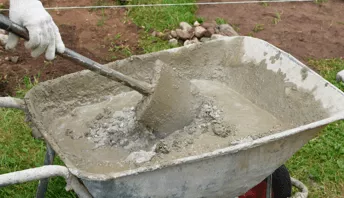
Footings
Information related to installing frost footings for decks
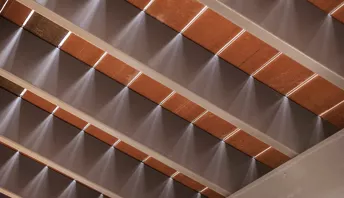
Framing
Learn structural framing methods
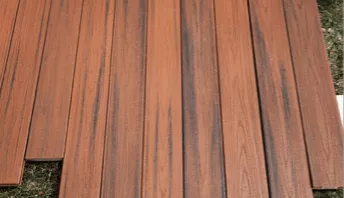
Decking
Learn about wood and composite decking materials
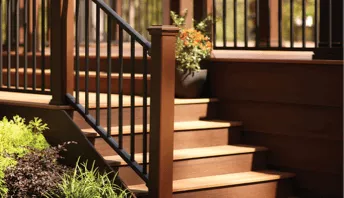
Stairs
An in-depth look at the complex issue of how to build stairs
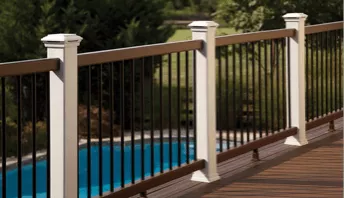
Railings
How to install guardrails and handrails to meet IRC code
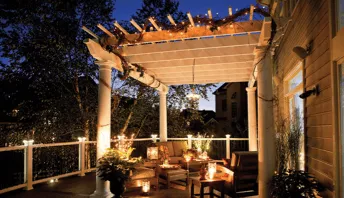
Features
An overview on water drainage, benches, planters and lights
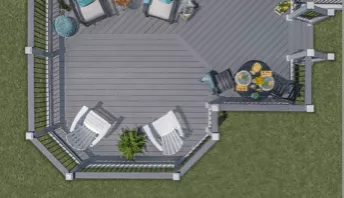
Design
The basics of deck design
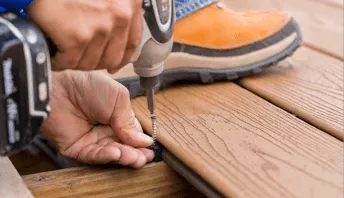
Planning
Learn about permits and working with contractors
Porches & Patios
Build a covered deck to enjoy all seasons
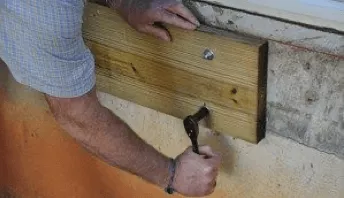
Ledger
Proper attachment techniques
Care
Maintain your deck to maintain your investment
Materials
An overview on water drainage, benches, planters and lights
What to Consider When Building A Wrap-Around Deck
Looking to add a wrap-around deck to your home but unsure of what the process involves? Check out this guide to learn more about top considerations when building a wrap-around deck.
Anatomy of a Deck
A comprehensive guide to help you learn the names and understand the functions of every part of your deck.
How to Install Decking Over Existing Concrete Slab, Patio, or Porch
Discover the best techniques to build a deck over concrete, ensuring proper drainage and stability, while creating a beautiful outdoor space.
Closed Stair Risers
Learn about the benefits of installing riser boards on your deck stairs.
Cutting Stair Stringers
The stair stringers are essentially the backbone of your staircase. Learn how to properly measure, cut, and build deck stair stringers.
Support Long Stringers
Long stair stringers may need extra support from installing a brace at mid-span.
Explore Articles by Topic

Footings
Information related to installing frost footings for decks

Framing
Learn structural framing methods

Decking
Learn about wood and composite decking materials

Stairs
An in-depth look at the complex issue of how to build stairs

Railings
How to install guardrails and handrails to meet IRC code

Features
An overview on water drainage, benches, planters and lights

Design
The basics of deck design

Planning
Learn about permits and working with contractors

Porches & Patios
Build a covered deck to enjoy all seasons

Ledger
Proper attachment techniques

Care
Maintain your deck to maintain your investment

Materials
An overview on water drainage, benches, planters and lights


